

It’s all the rage. It allows for so much more flexibility in cake design and figure modeling, and my GOODNESS does it taste delicious.
This sweetheart cake decorating medium is none other than modeling chocolate, and it’s close cousin, candy clay.
I get questions, see confusion, and even witness intimidation with modeling chocolate and I’m here to clear it all up. With so many possibilities it’s worth the effort to learn to do it yourself and try it out. Let me be your modeling chocolate and candy clay escort for the day, and I promise we’ll win you over!
Let’s dive in!
Note:I’ll be showing you step by step the methods using the white candy melts, but the methods apply equally to both real chocolate and the candy melts.
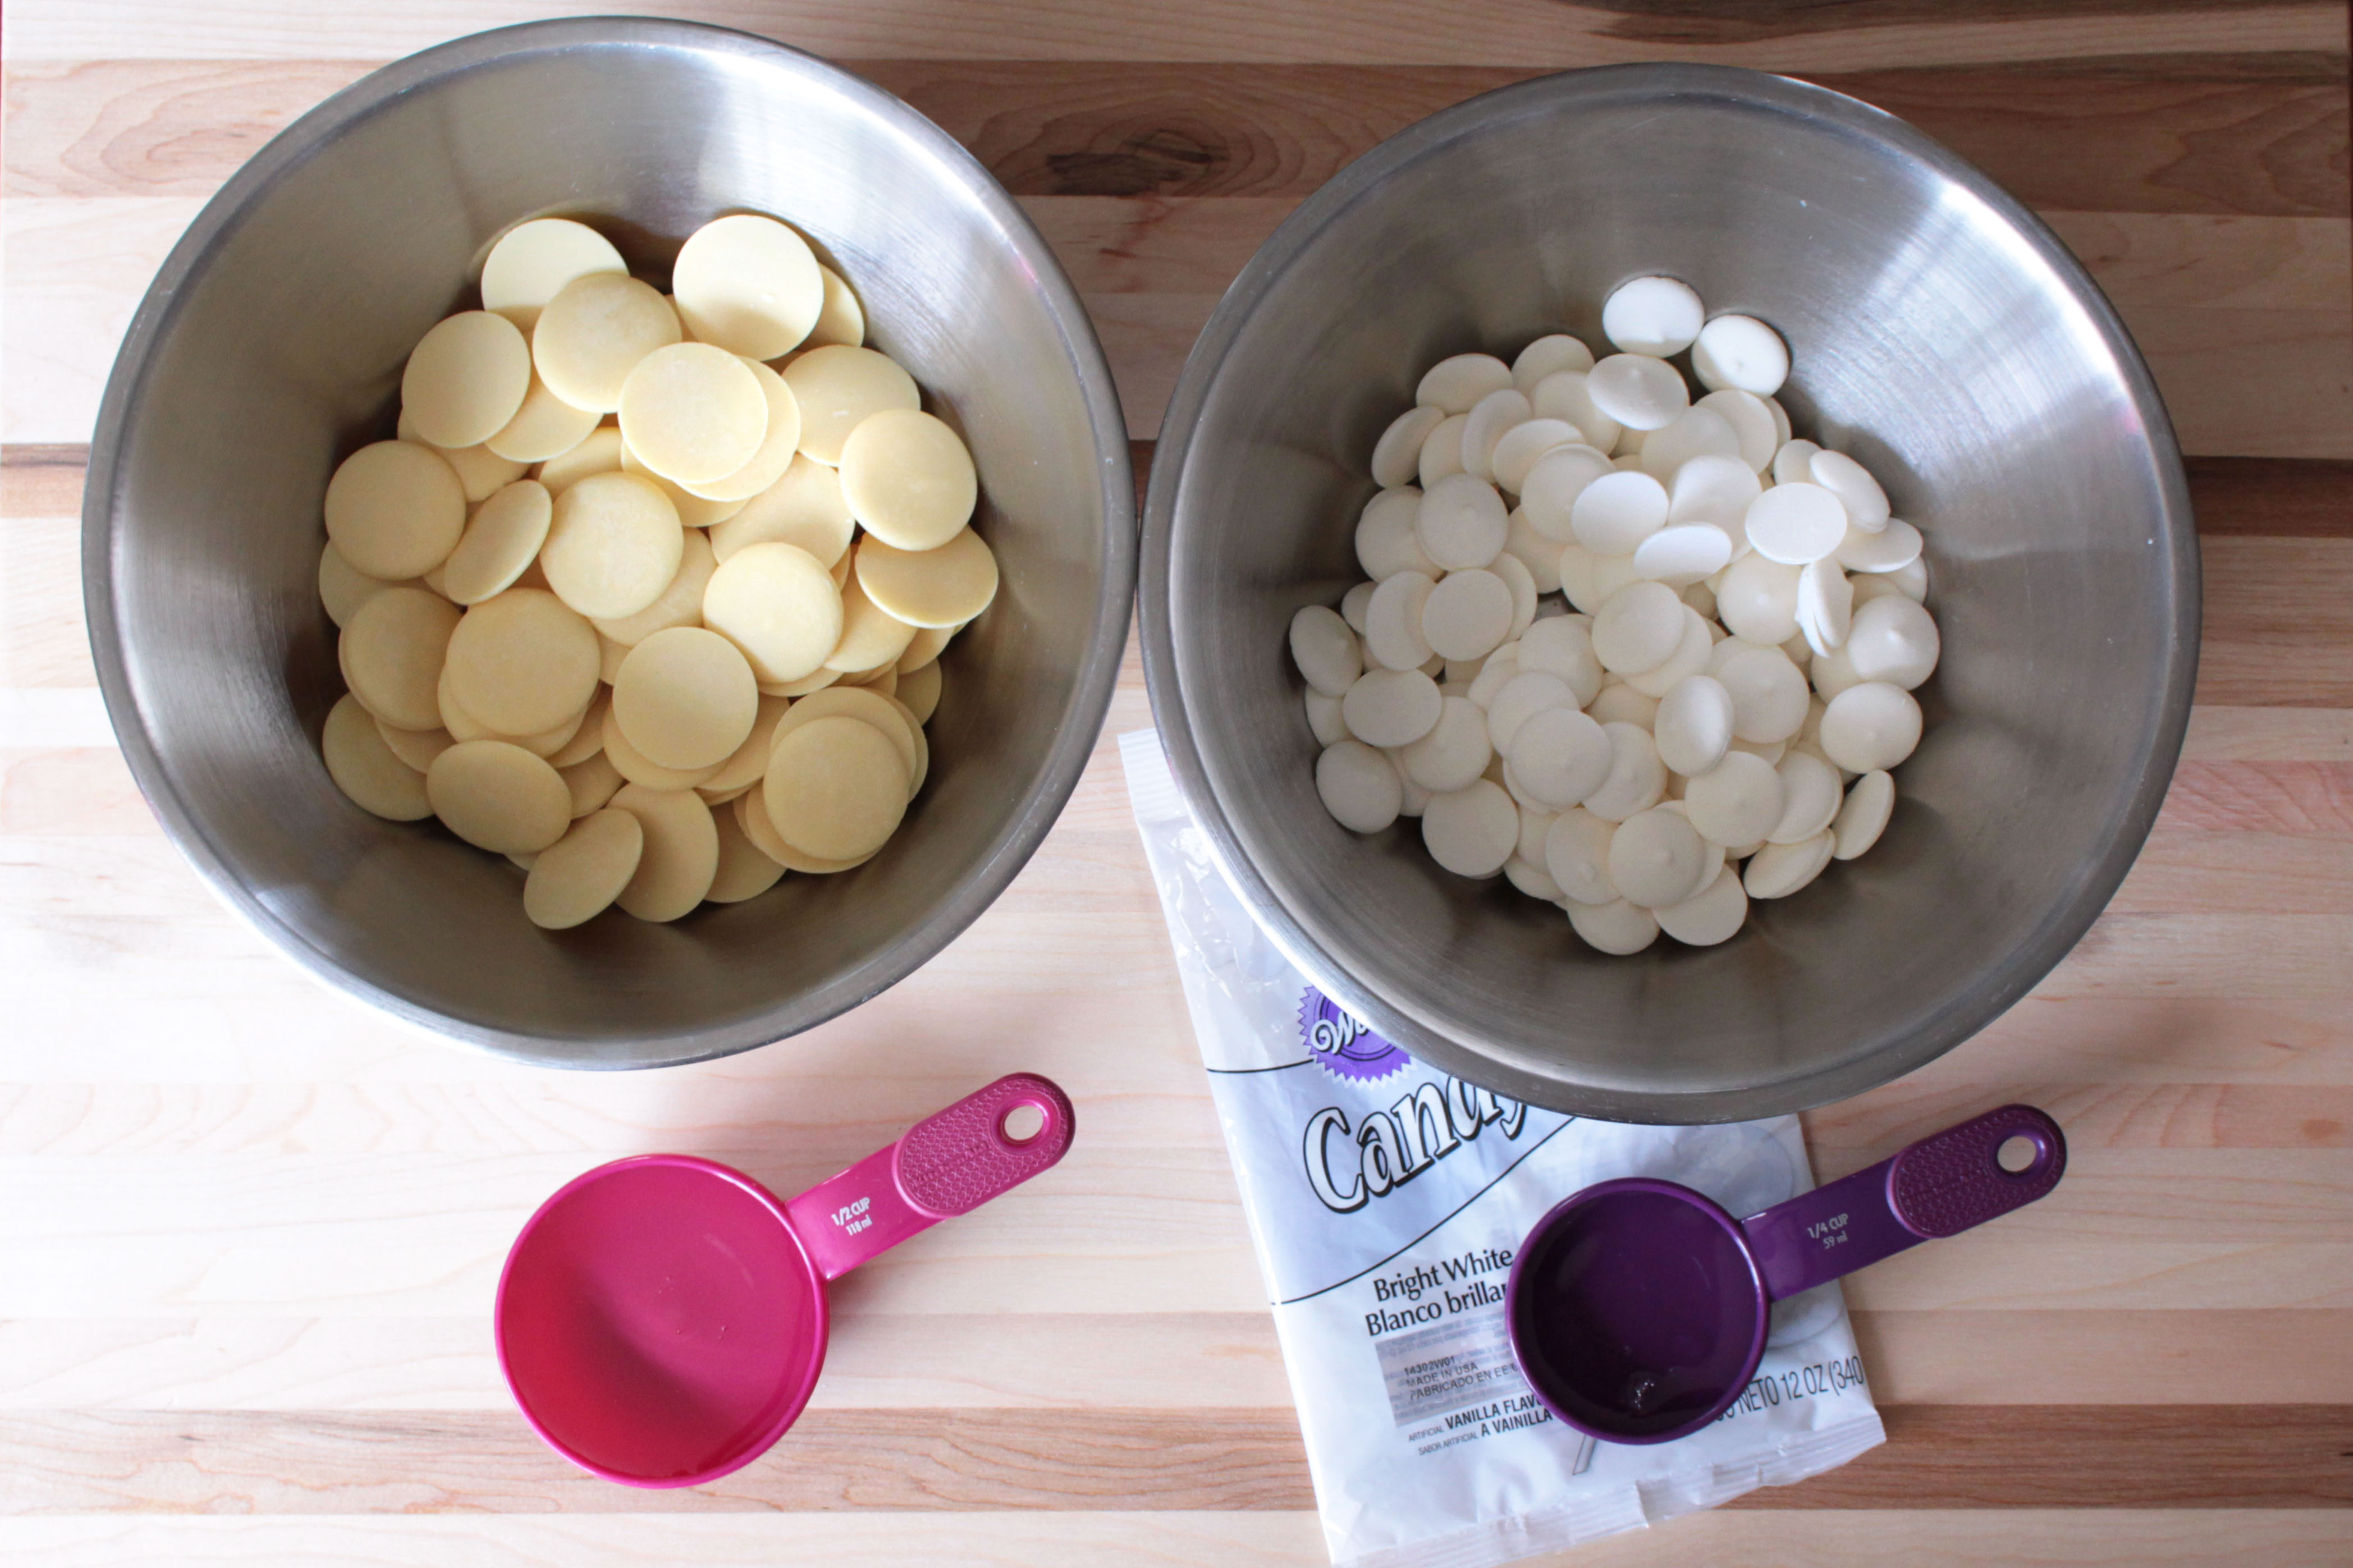
Modeling chocolate
- 1 pound white chocolate – chopped pieces, chips, or wafers
- just under 1/2 cup light corn syrup or glucose
Candy clay:
- 1 – 12 ounce bag of your preferred color melts
- 1/4 cup light corn syrup
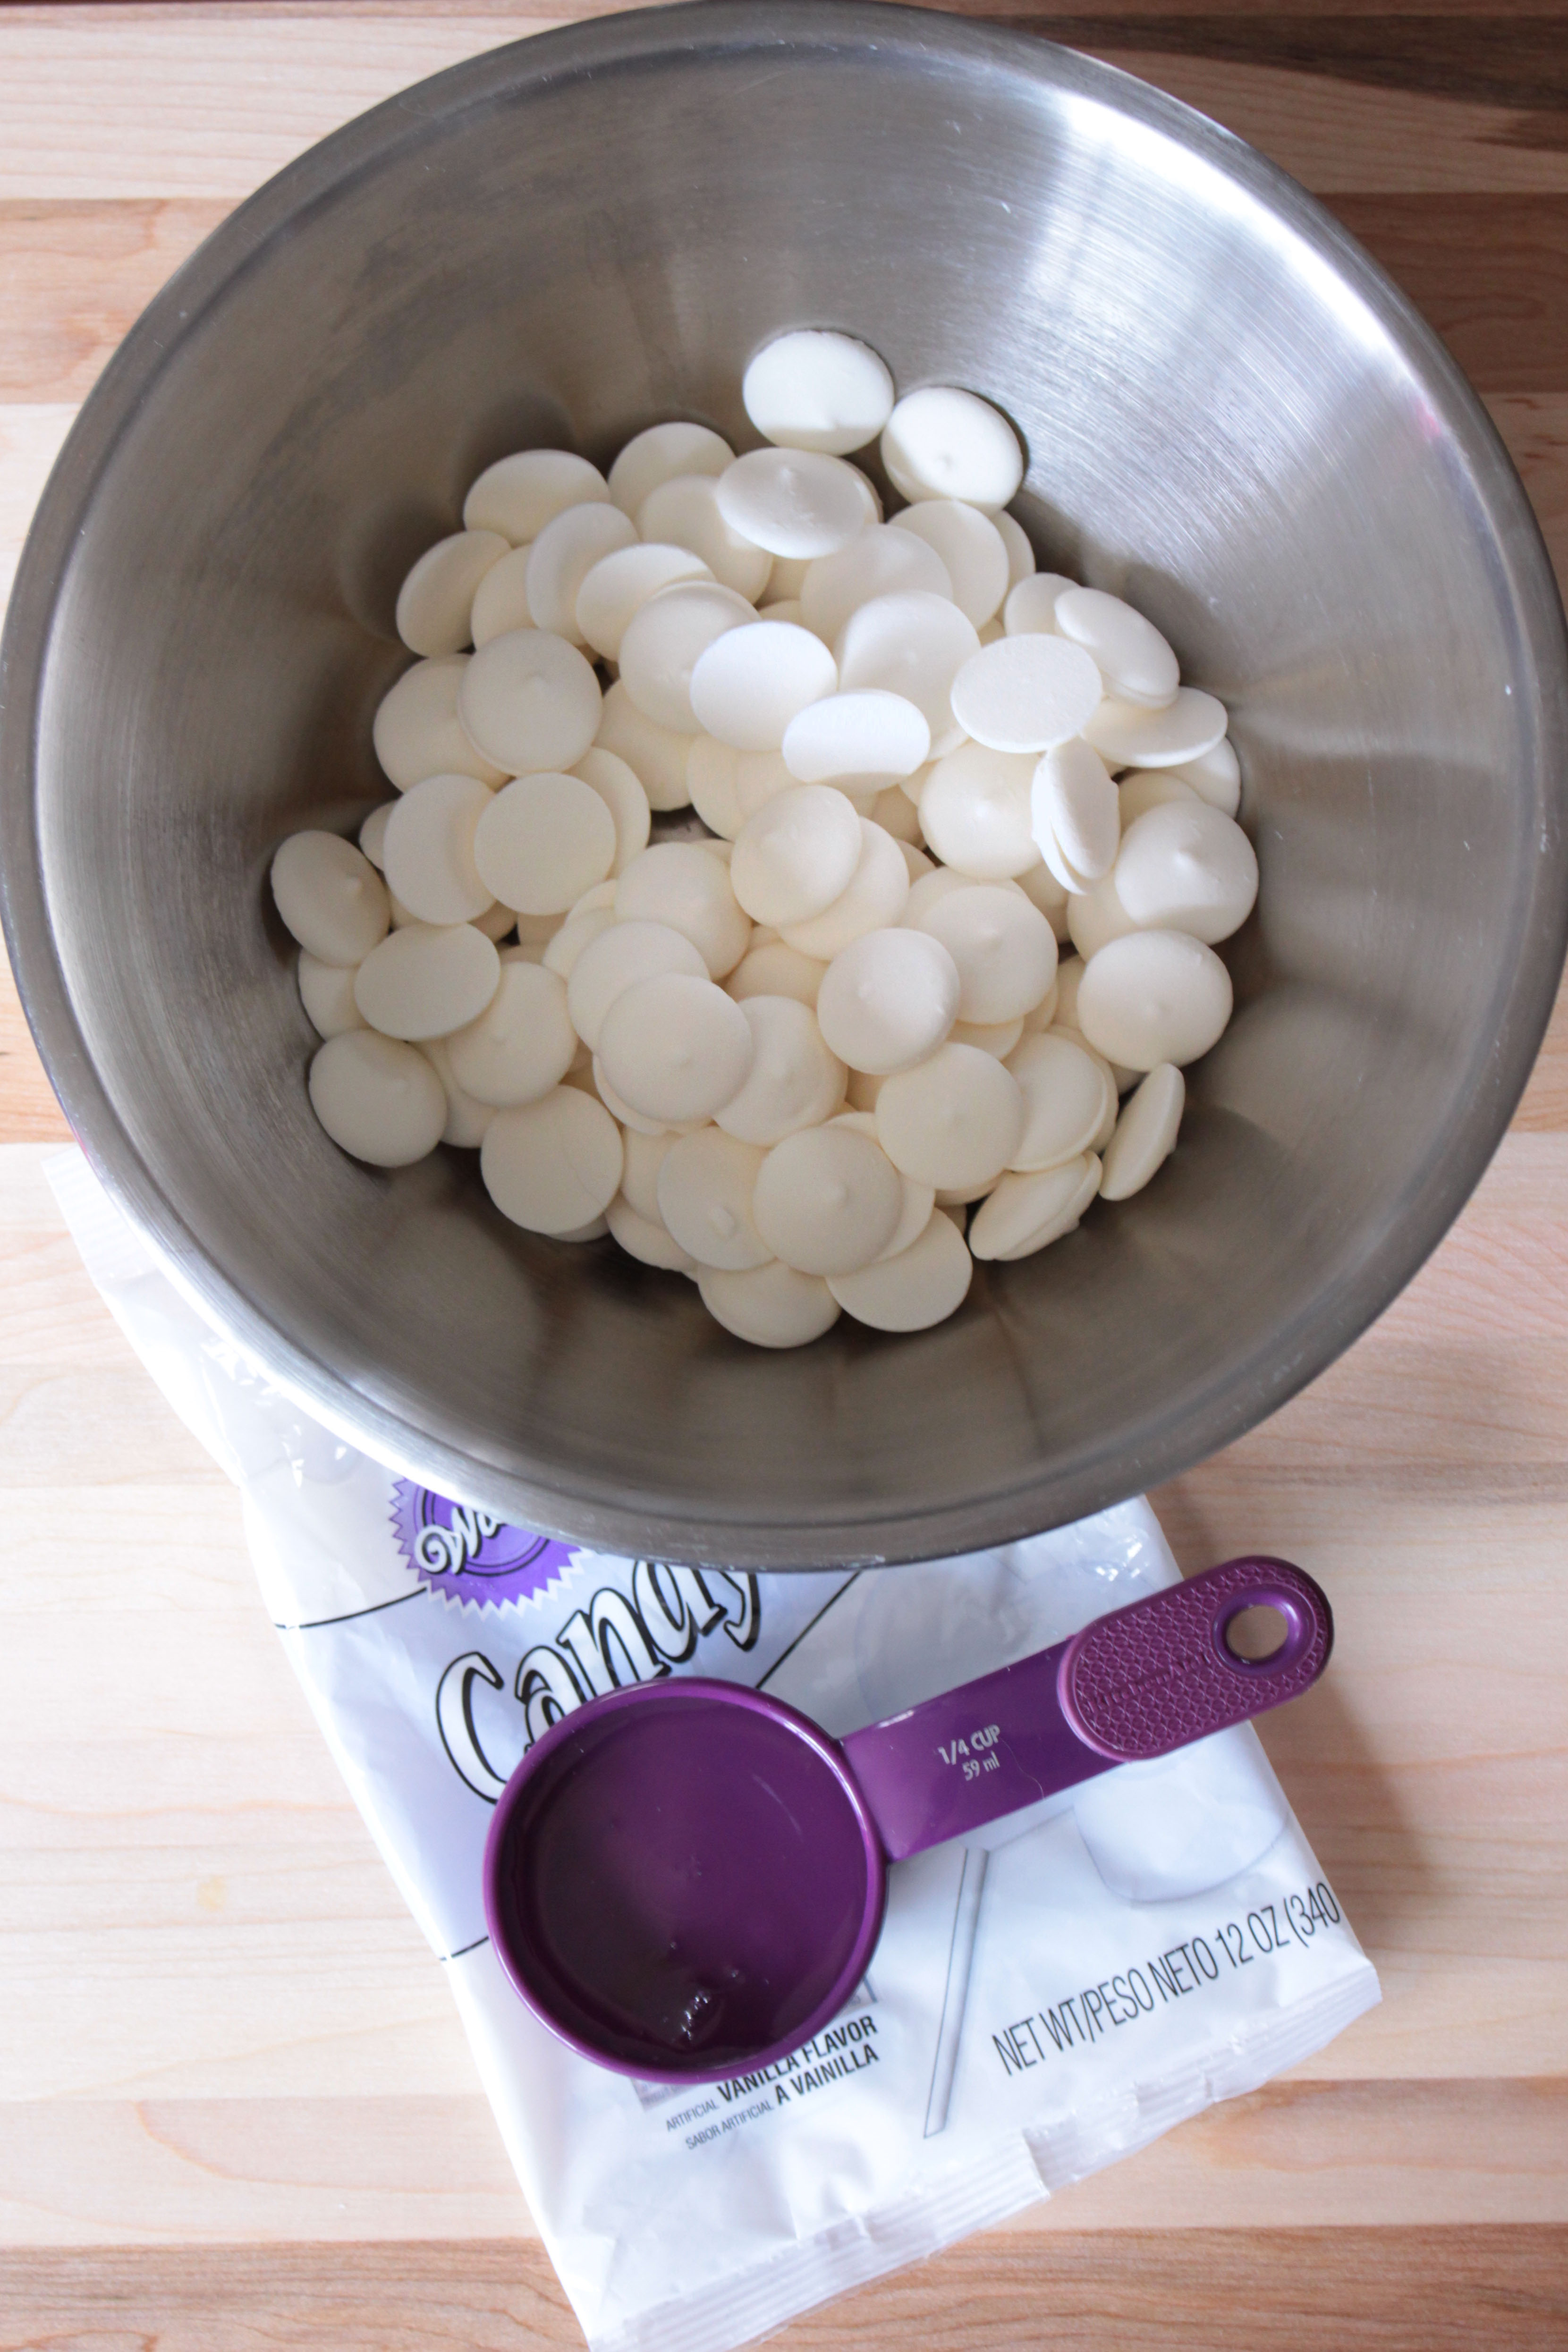
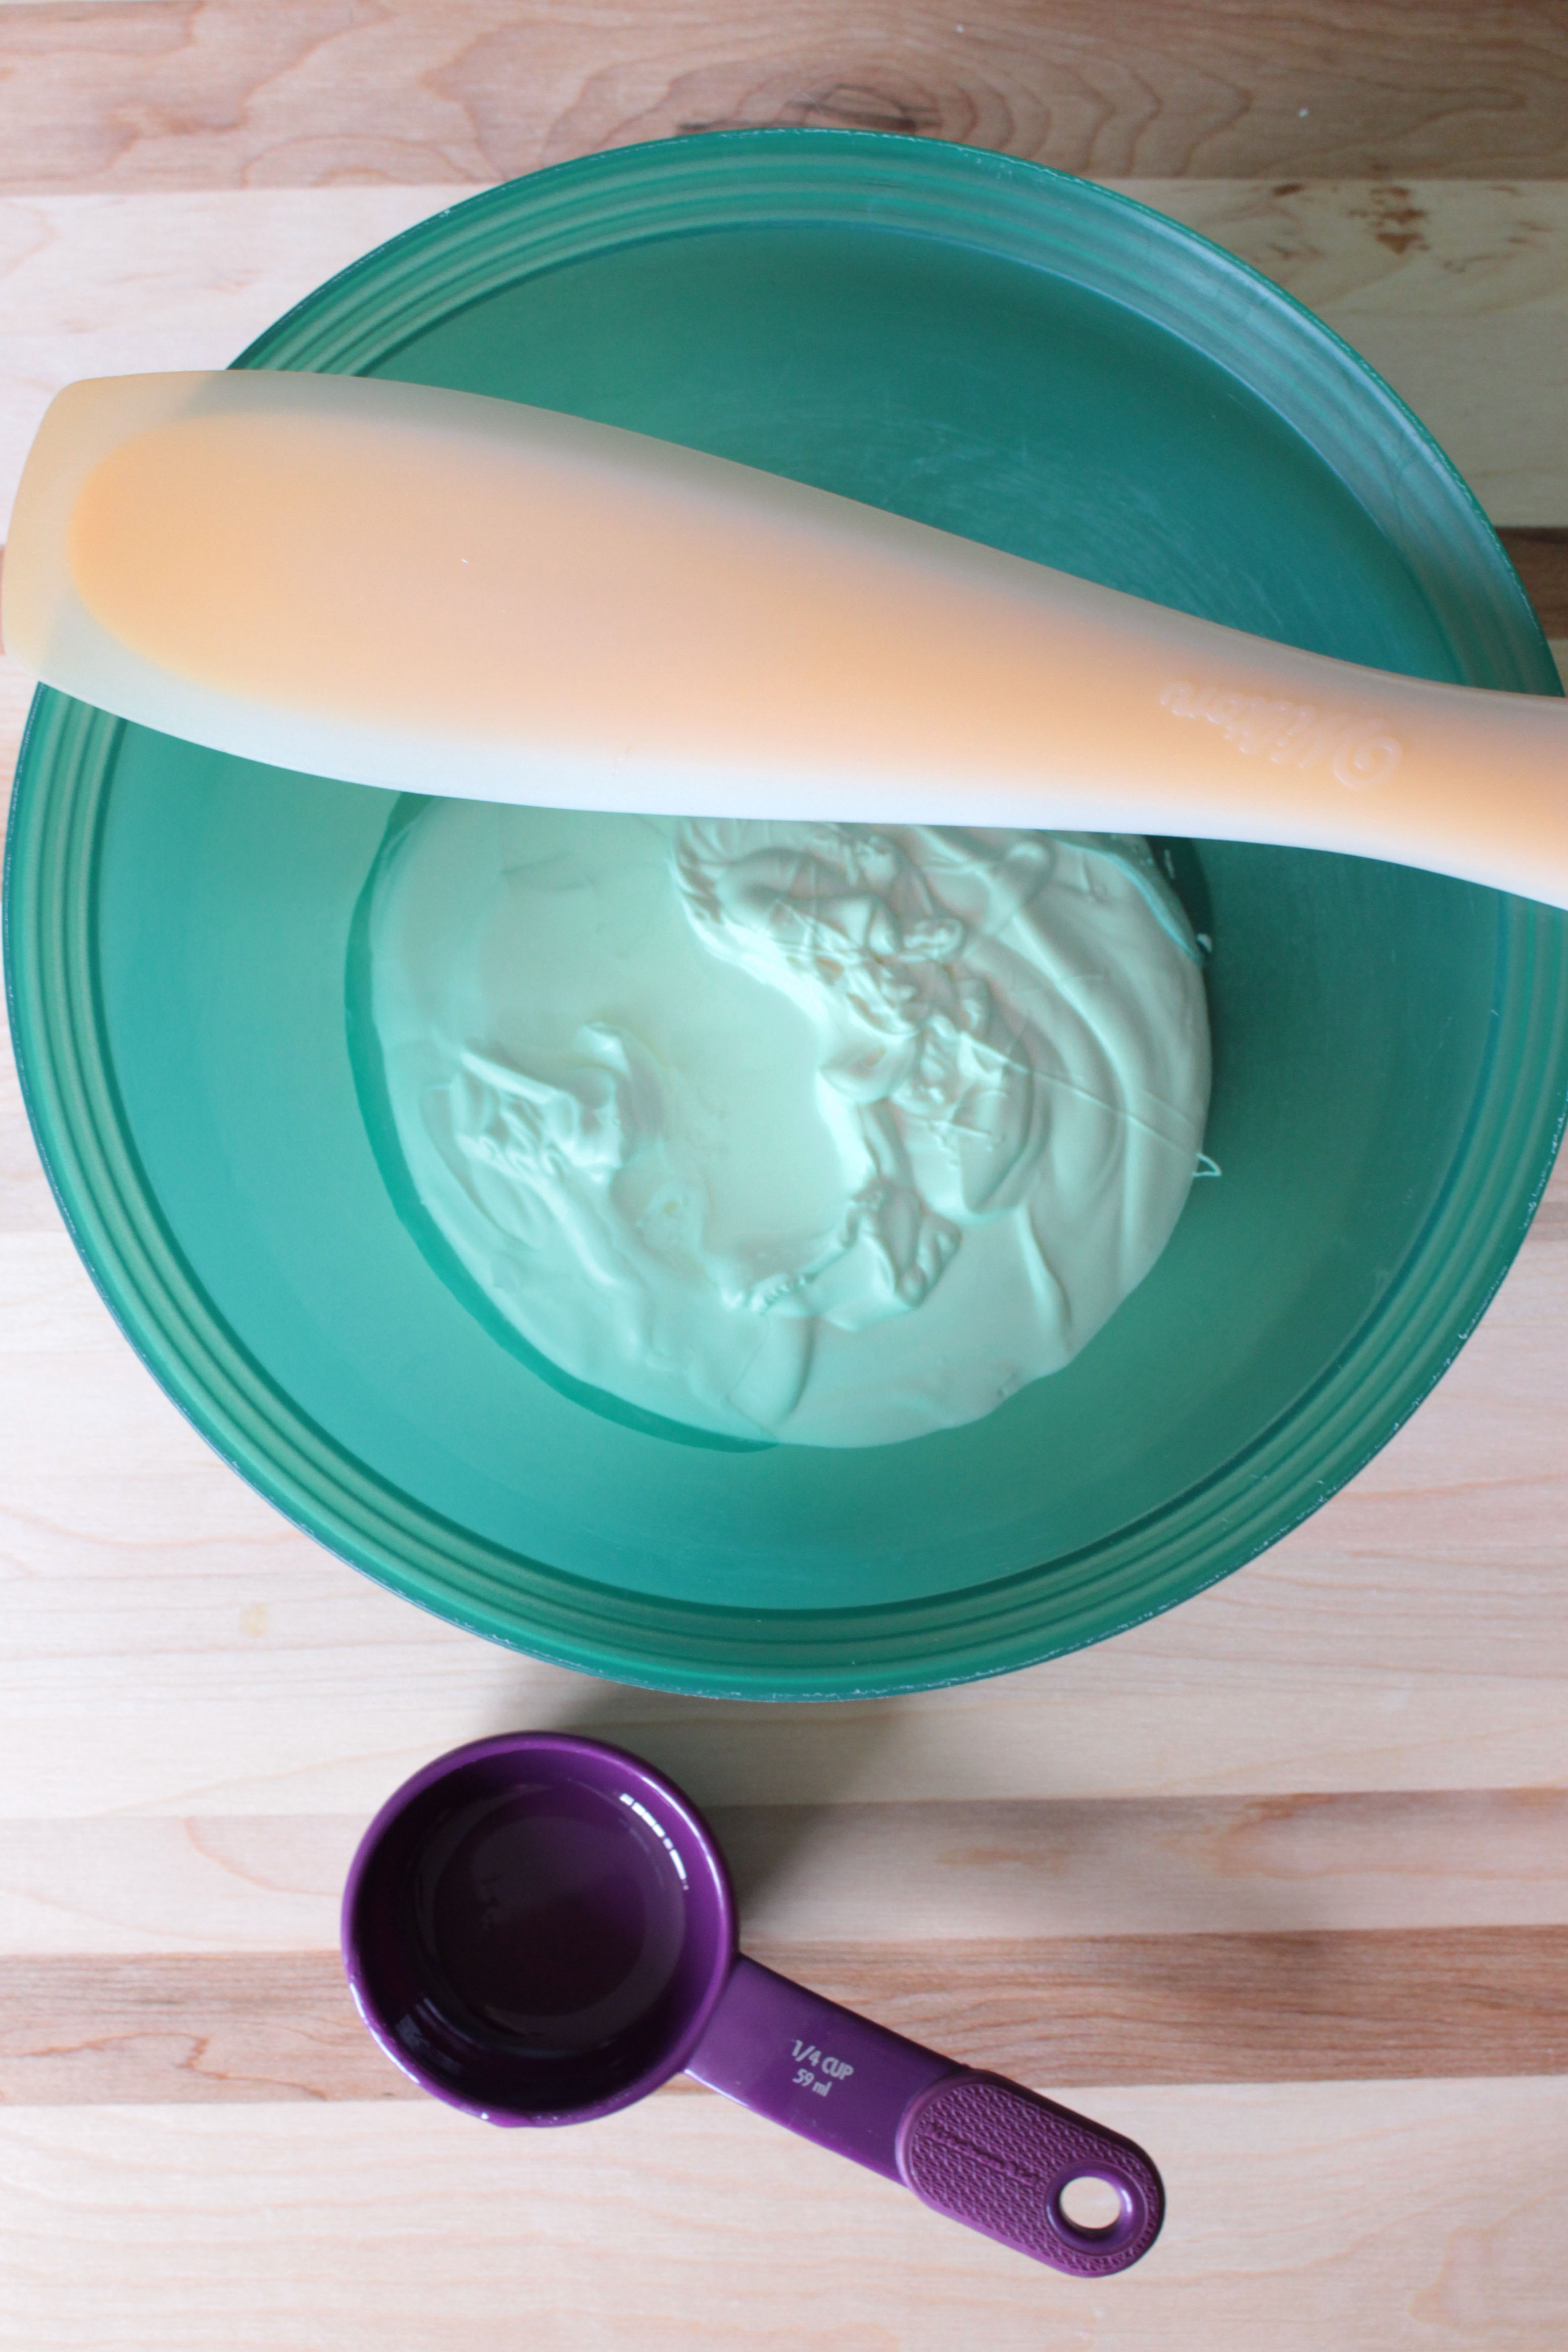
I’ll be melting these in the microwave in bursts of 30 seconds. I check them for their meltiness (yep, that’s a Kara-approved technical term) after each 30 seconds. It’s important to monitor them and not let them burn, which can be easily done in the microwave. And once it’s burnt, it’s a goner. If you’re uncomfortable using the microwave, you can melt them old school over a double boiler on the stove top.
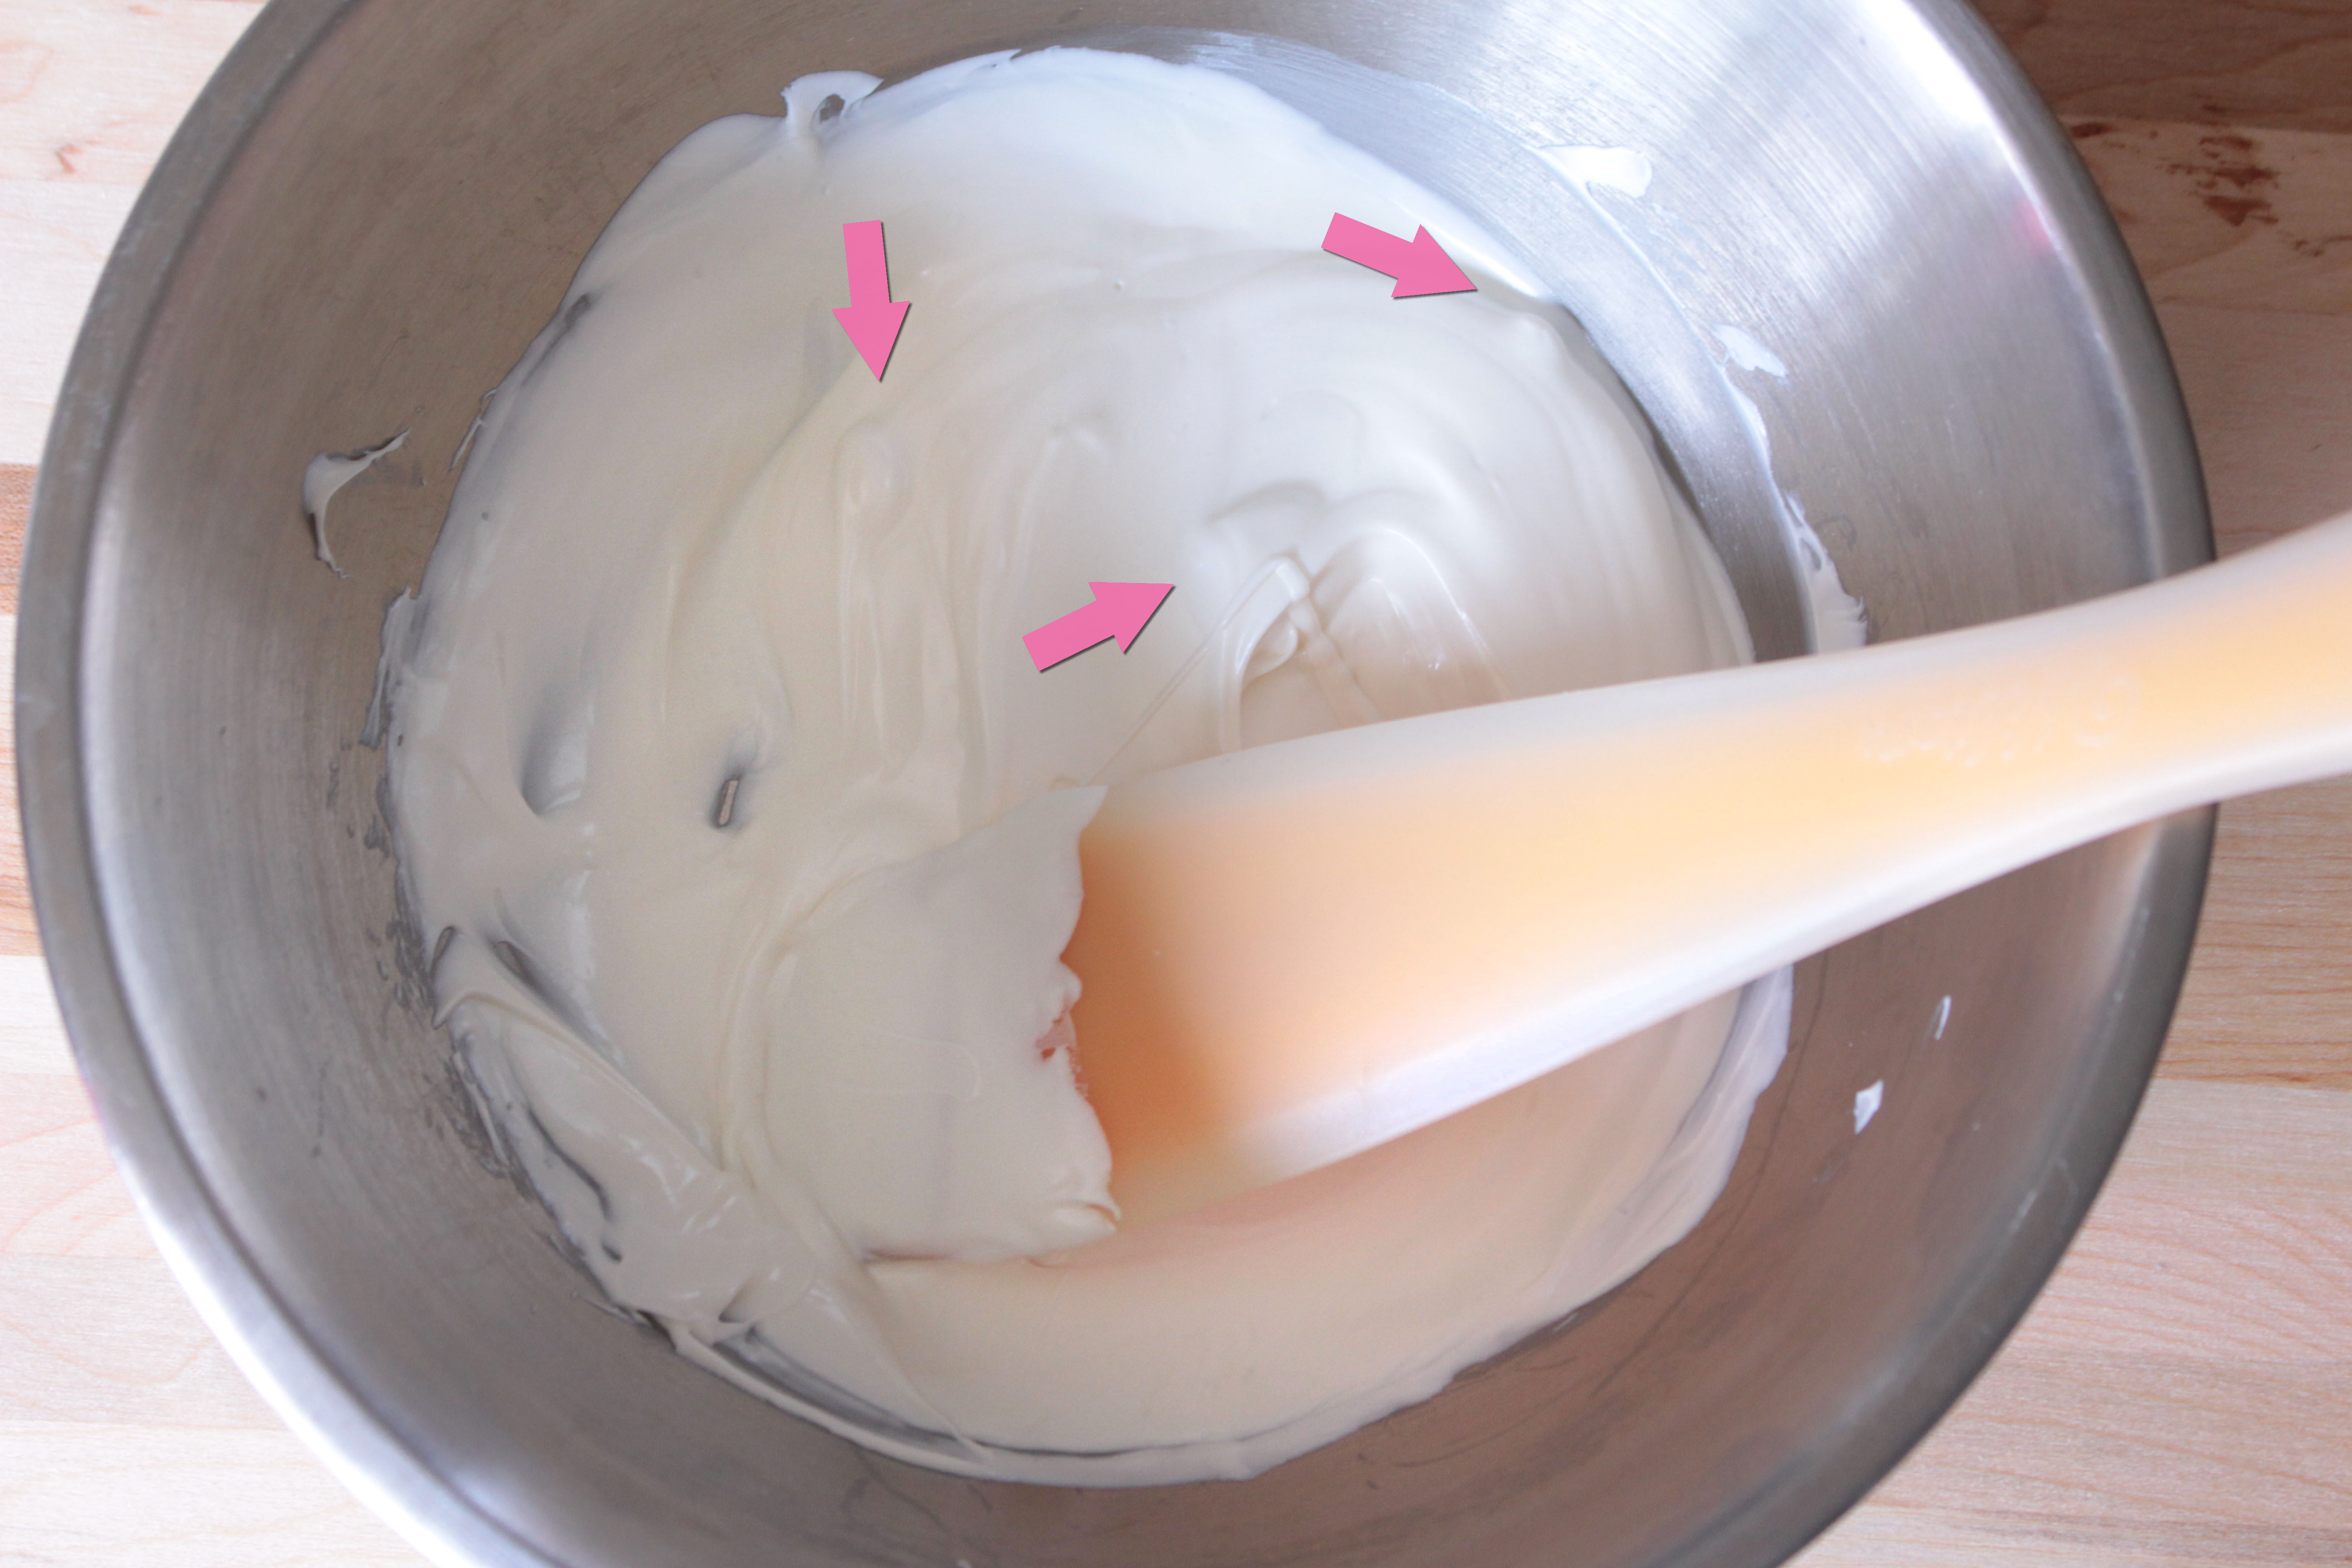
Ooh! It looks all nice a smooth, right? Nope. there are still a few subtle lumps trying to hide from view. I’ve pointed them out for you. These aren’t good to leave in your bowl. They do need to be melted completely or they will wreak havoc in your final batch of modeling chocolate/candy clay. Little bumps and lumps everywhere when we’re looking for it to be beautifully smooth.
In the interest of not over heating, when you get near to this stage of melting, leave it in the microwave after that last 30 second burst. Don’t open the door right away. Let it sit in there, hanging out in the warmth for a minute or two. It allows for the residual heat to work it’s way through those lumps and to even out through your whole mixture. No over-heating, no lumps. Perfect!
Here I’ve taken my spatula and swiped it along the side of my mixing bowl to see if there are any small bumps or lumps. There aren’t, so we’re ready to warm our corn syrup! Well, almost…
Before I warm the corn syrup and get to mixing, I change my bowl. The bowl we melted in has some drier bits around the tops and sides from stirring and those can be a problem. So I’ve found that my best move in making modeling chocolate and candy clay is to use a fresh bowl for the mixing. Now that we have a fresh bowl, pop the corn syrup into the microwave for about 6-8 seconds to bring it to a little above room temperature. It shouldn’t even feel warm to your hands (unless you’ve got cold fingers, like me).
If you want to add color to your white chocolate or white candy melts, now is the time to add a few drops of concentrated gel color. Just drop them in with the corn syrup and mix it in before adding to your bowl.
Commence mixing… slowly and gently!
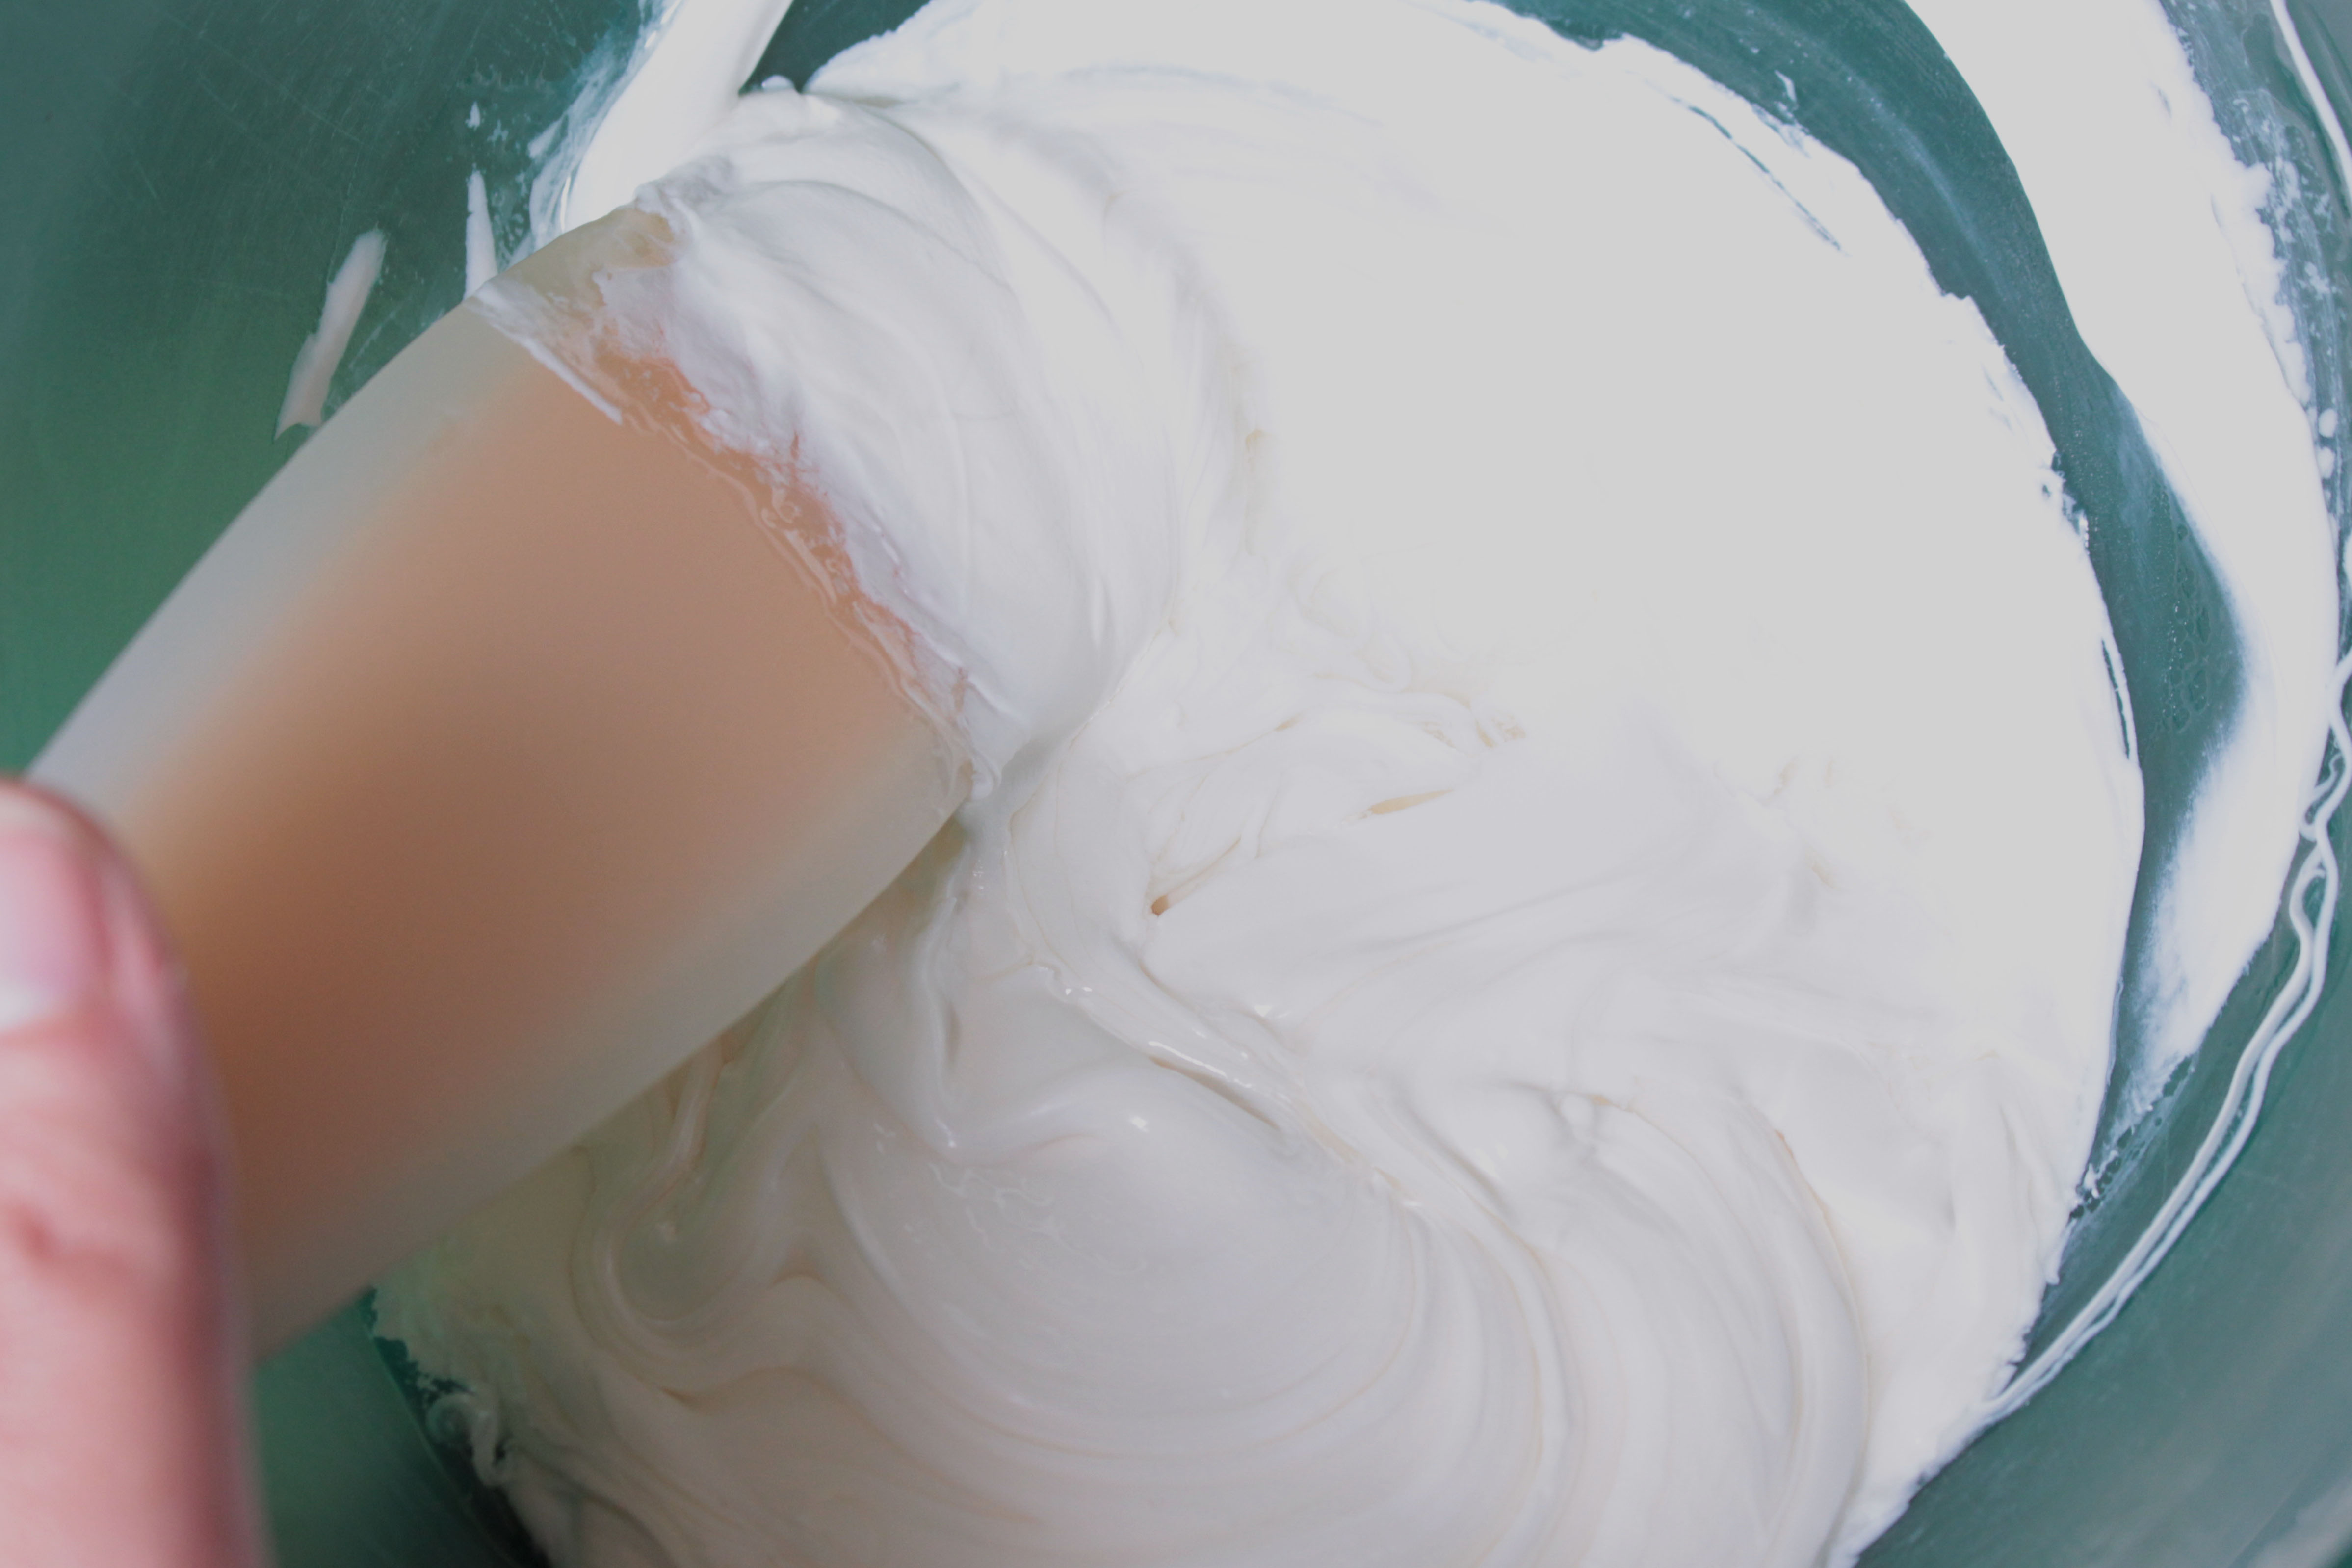
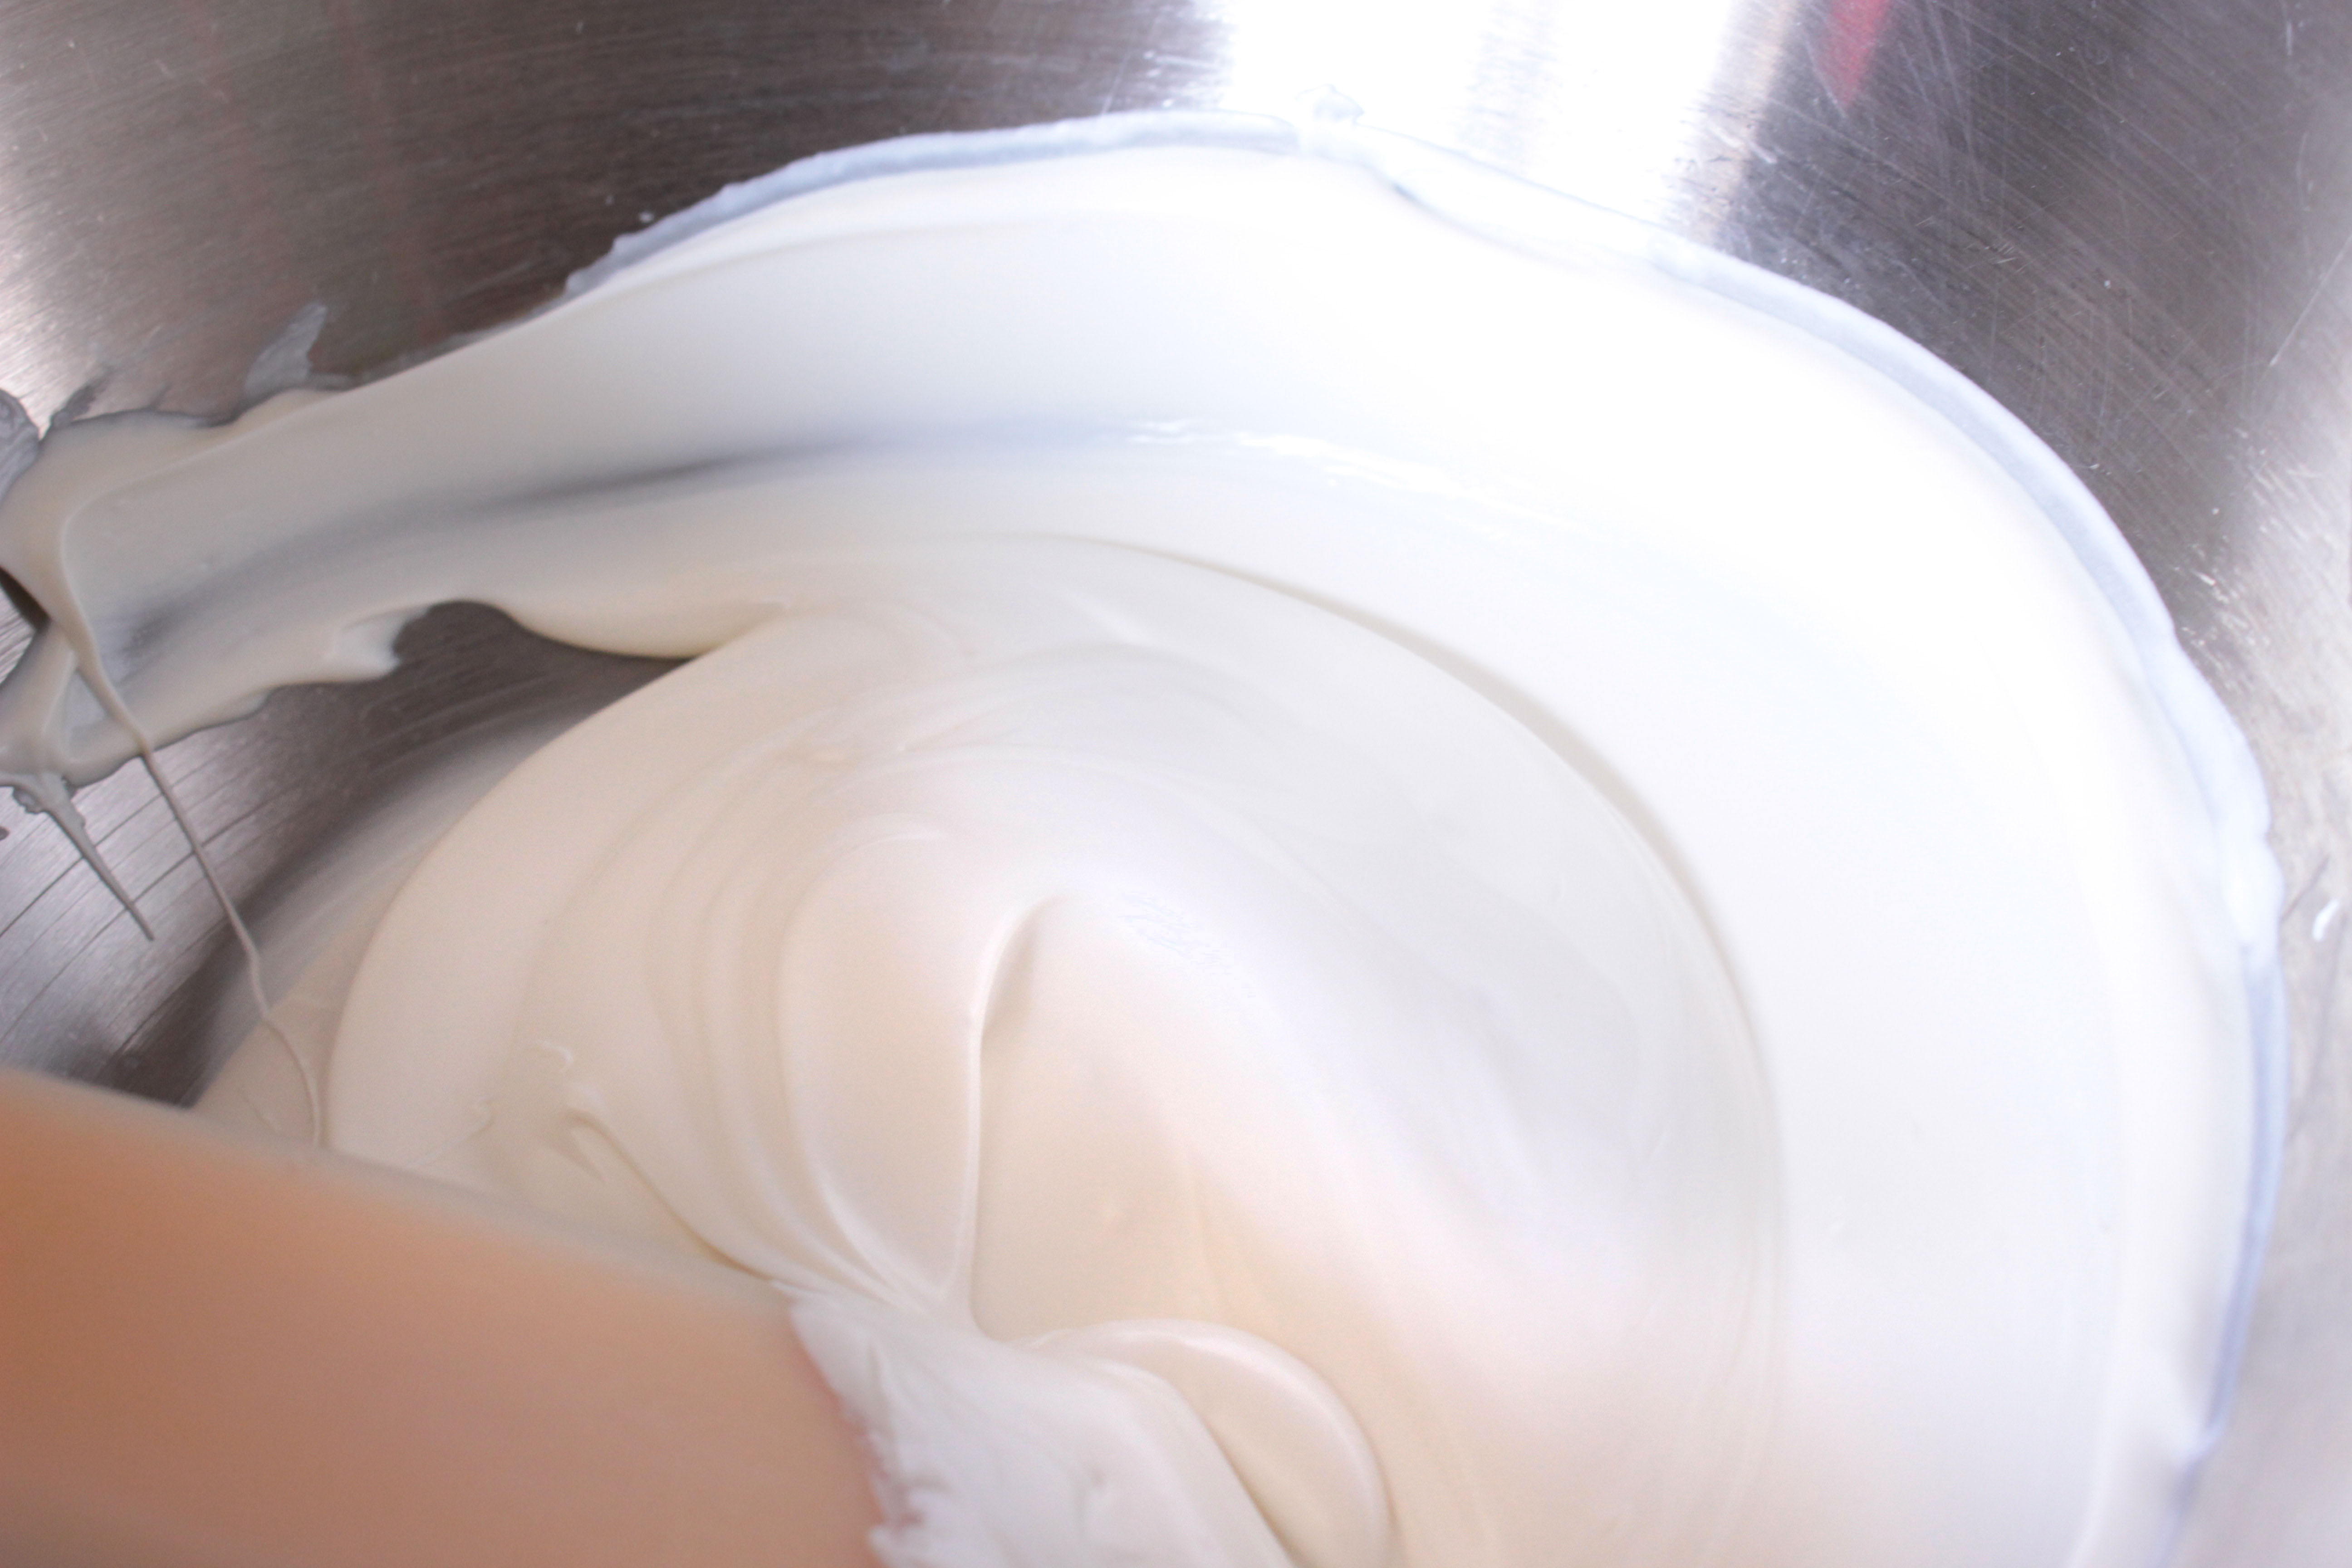
Gently pull the corn syrup through the melted chocolates or candy melts. It’s important to be sure you scrape all the melted bits from the sides and bottoms, and that all of it comes into contact with the corn syrup. While this image above looks like it’s smooth and even, you can see swirls in it, and those swirls need to be fully mixed in for a successful product.
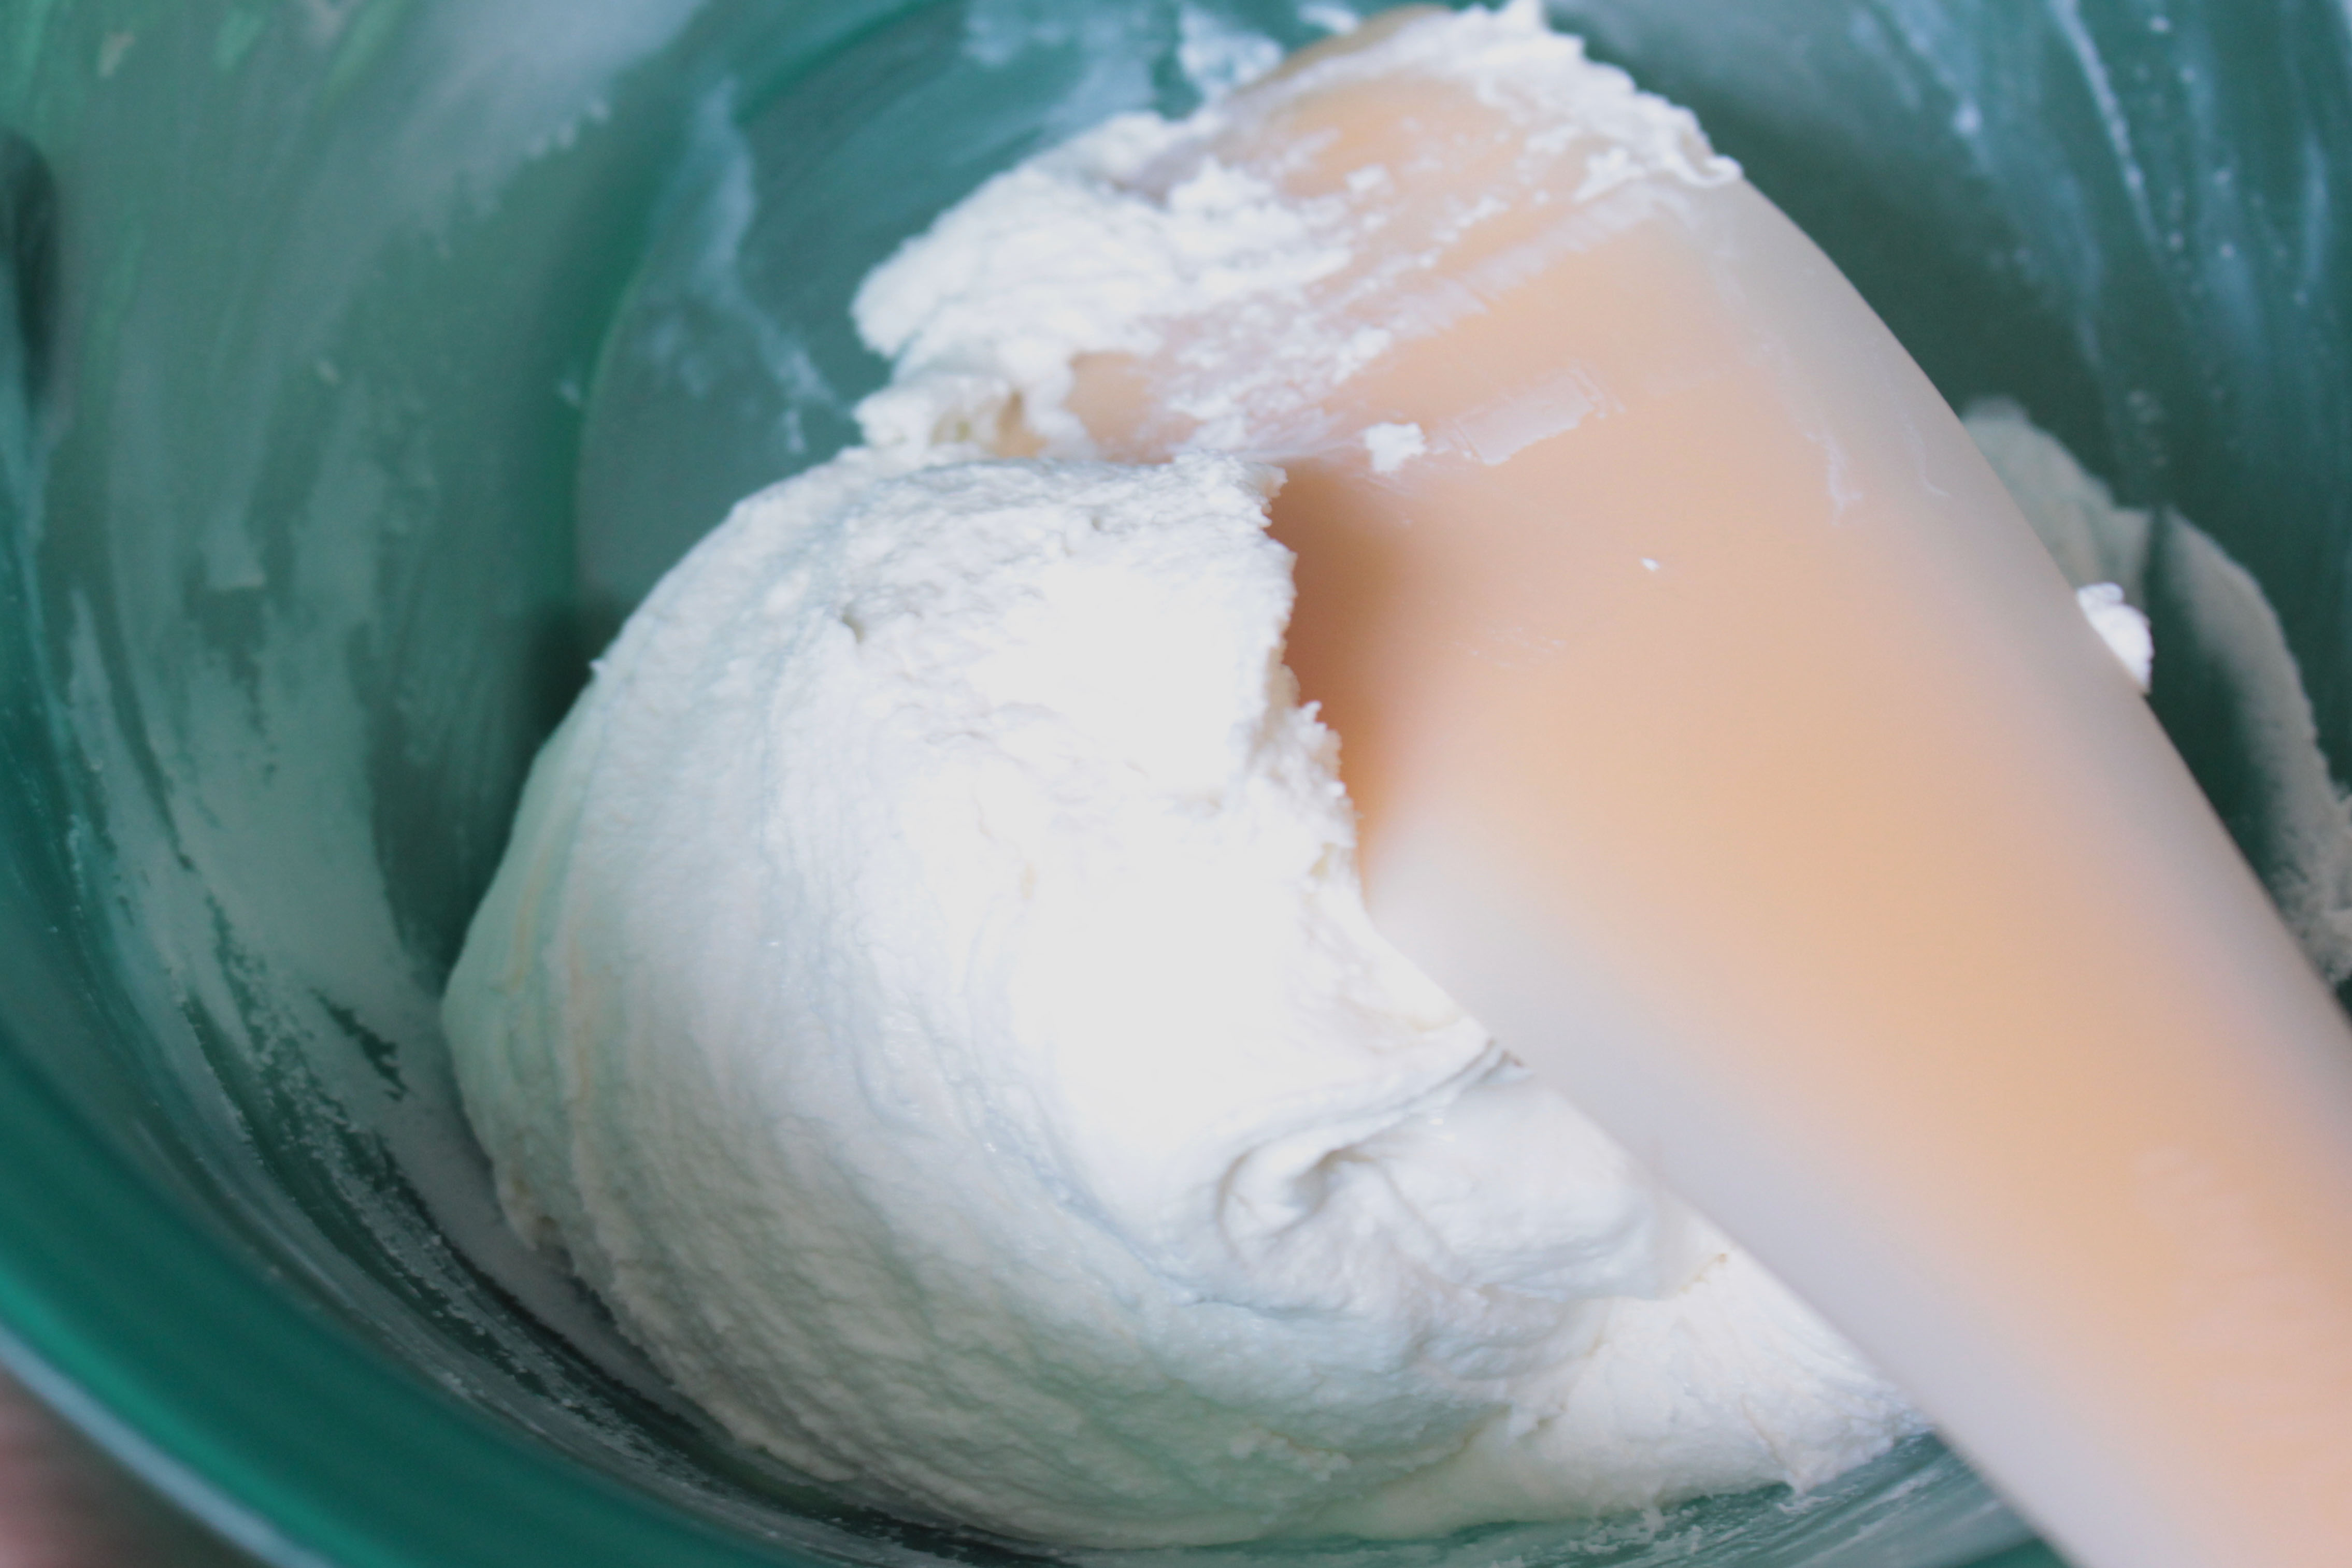
People describe this final consistency as soft-serve, you know… the ice cream. It feels and looks like a thick ricotta cheese to me. It’s also important to not over mix this. Once you start to see this stage come together, get your hands off your spatula! Step away from the mixing bowl. If you continue, you will very quickly separate the mixture and have a pool of oil next to a dry lump of chocolate. No one wants that.
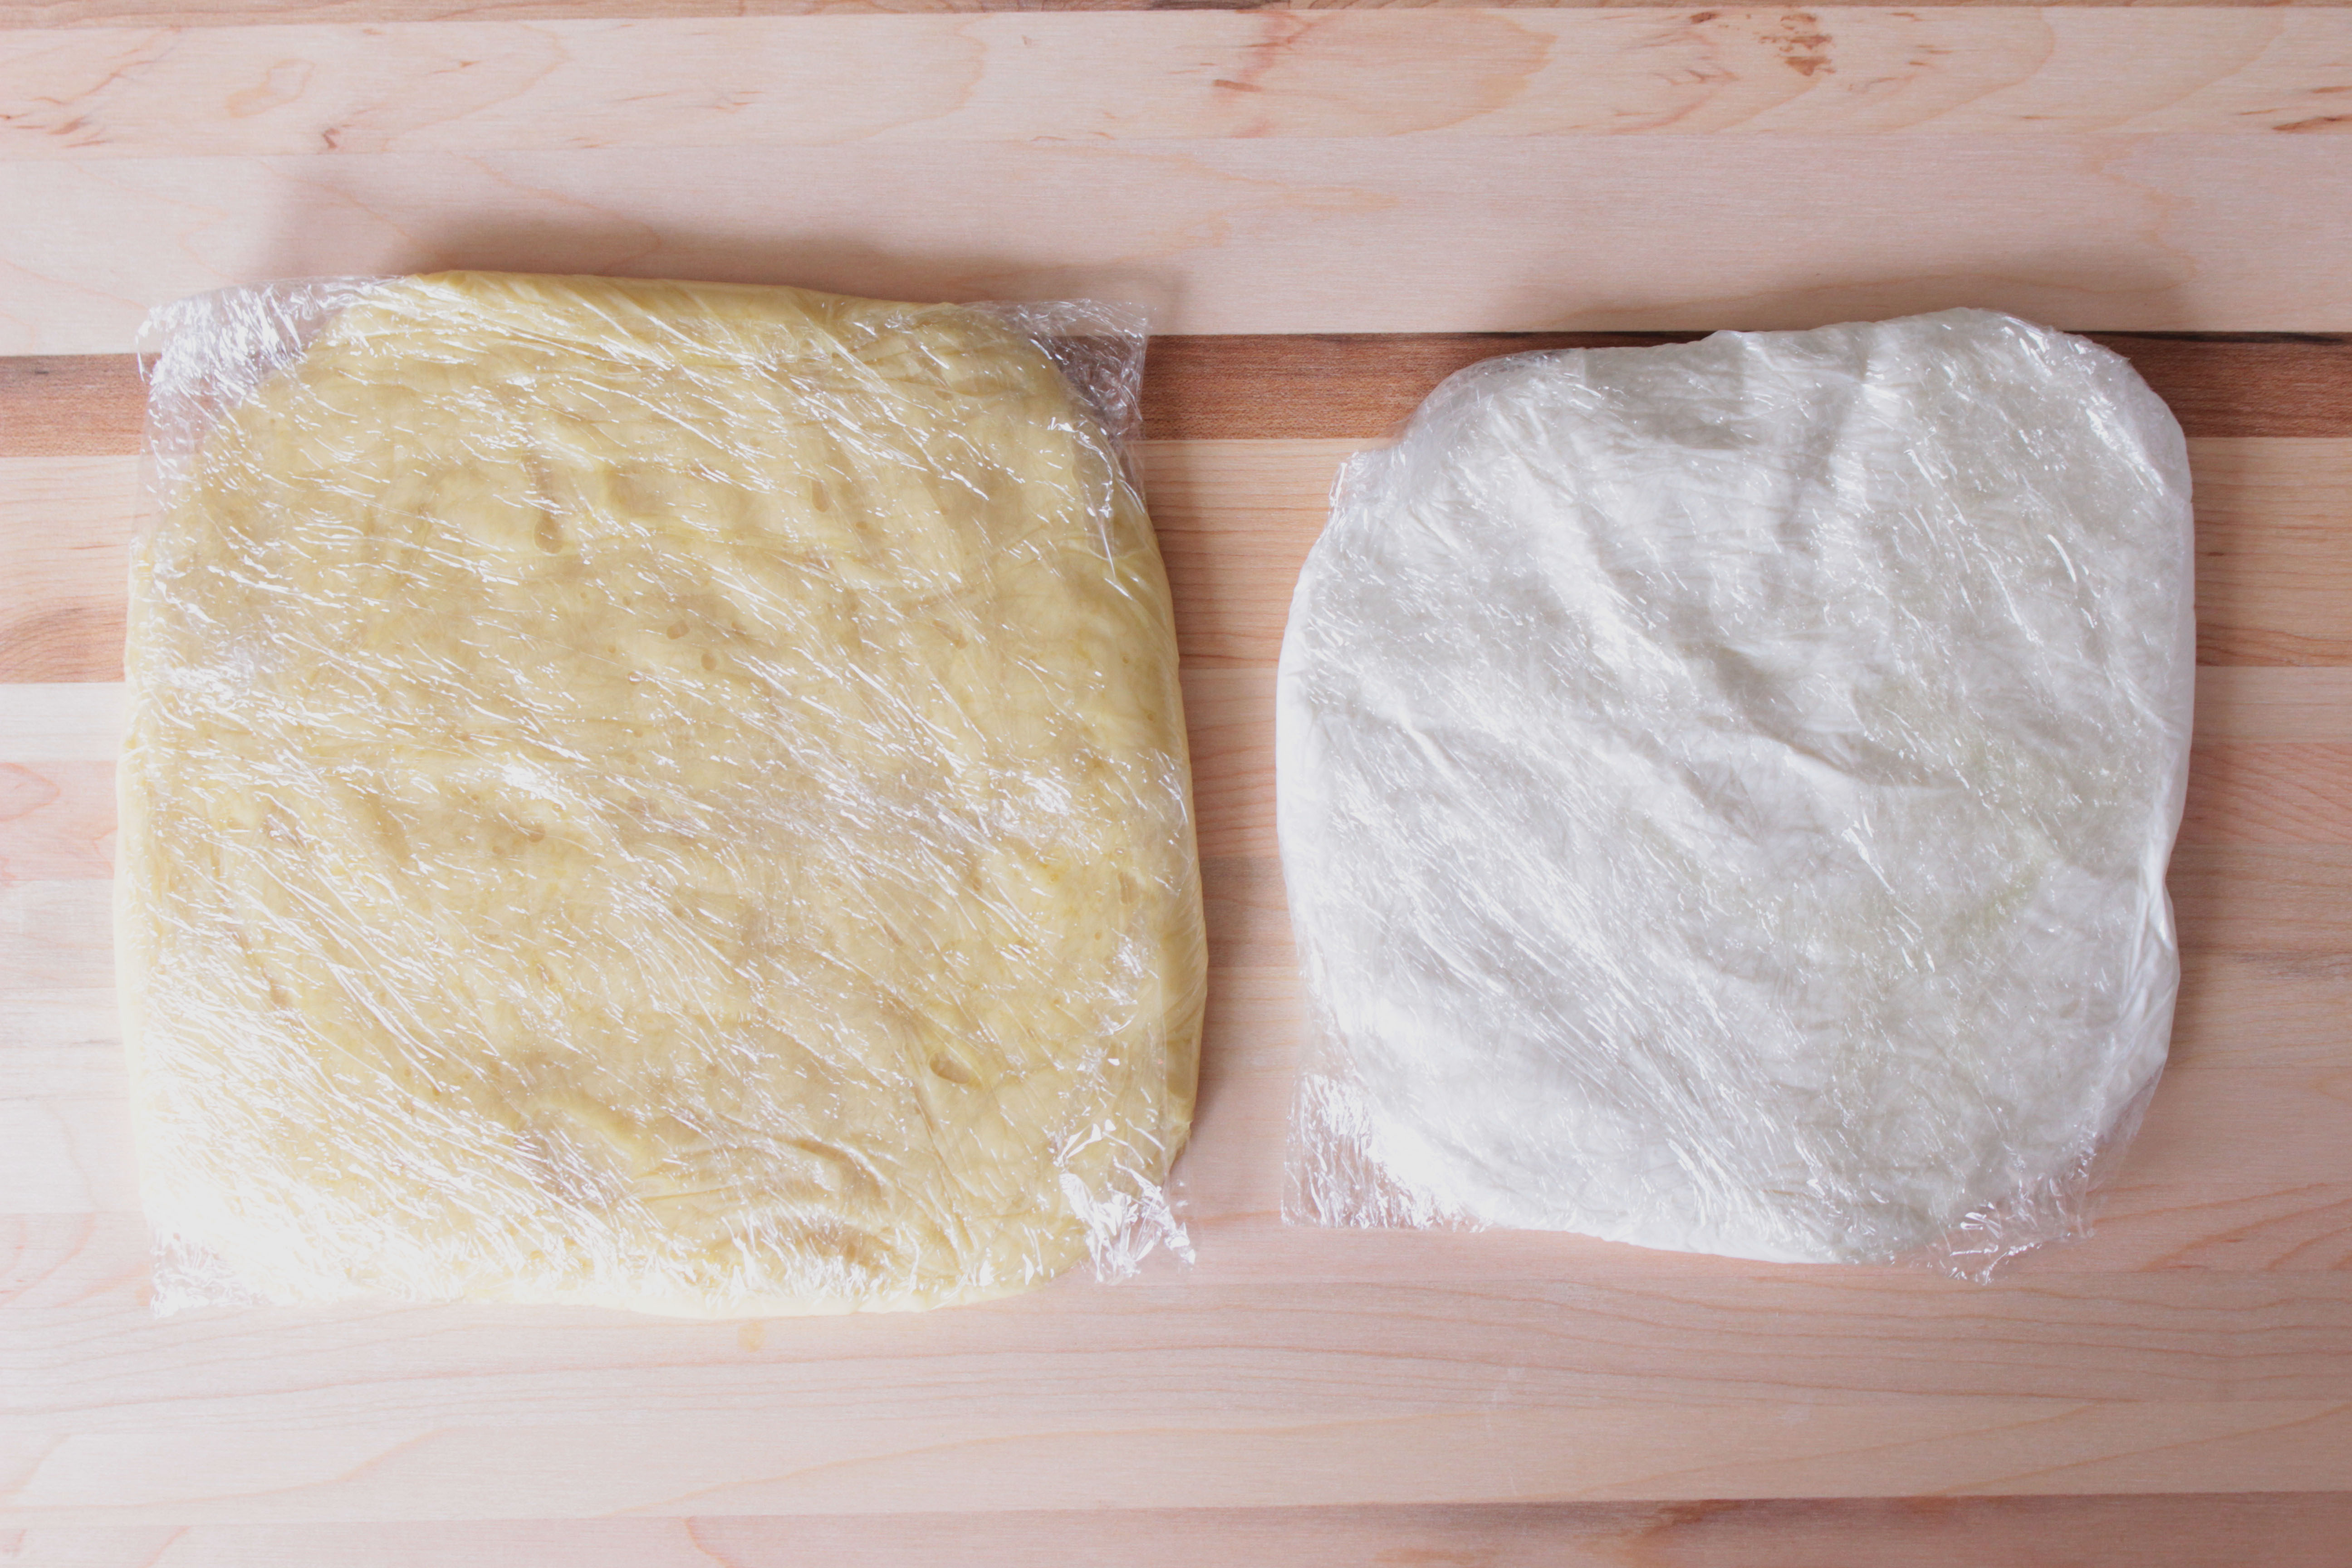
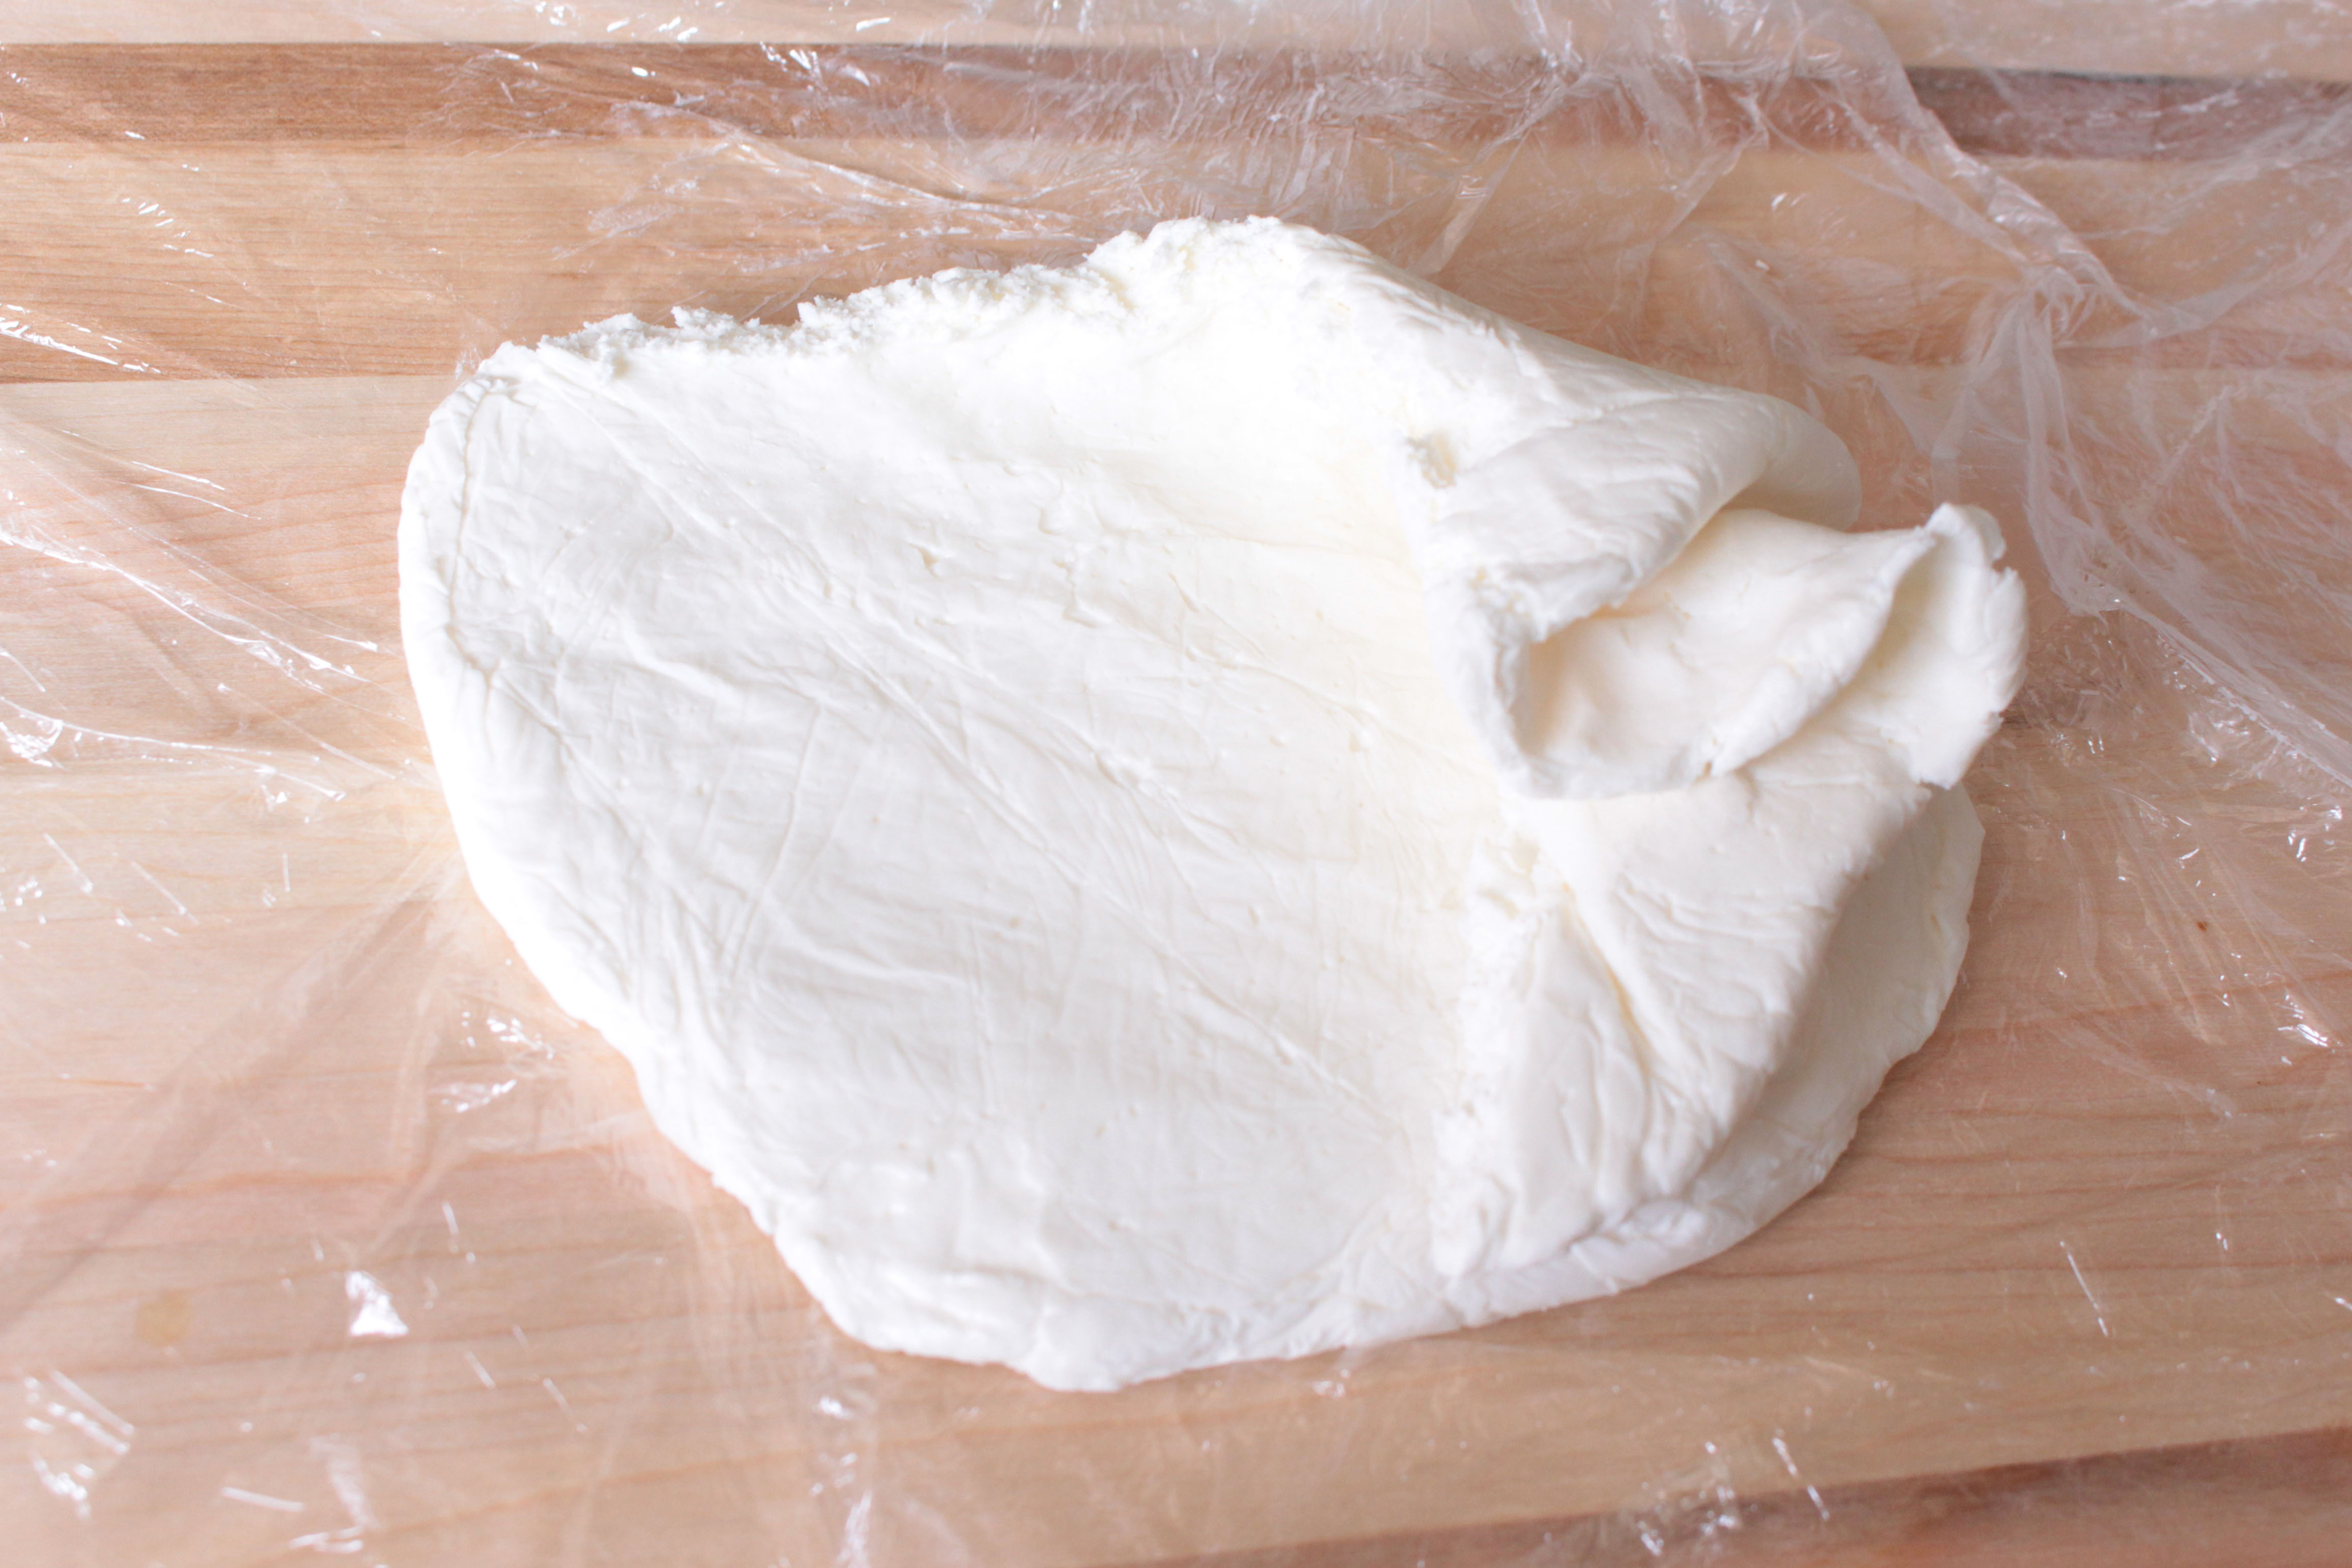
Once you’ve finished mixing, pour your mixture out onto a piece of plastic wrap, flatten in with your spatula a bit, and wrap it air tight. Leave it to sit on your work surface to cool and begin to firm up a bit. If you lay your plastic out over a baking sheet and wrap it there, you’ll be able to move it from your work surface with ease.
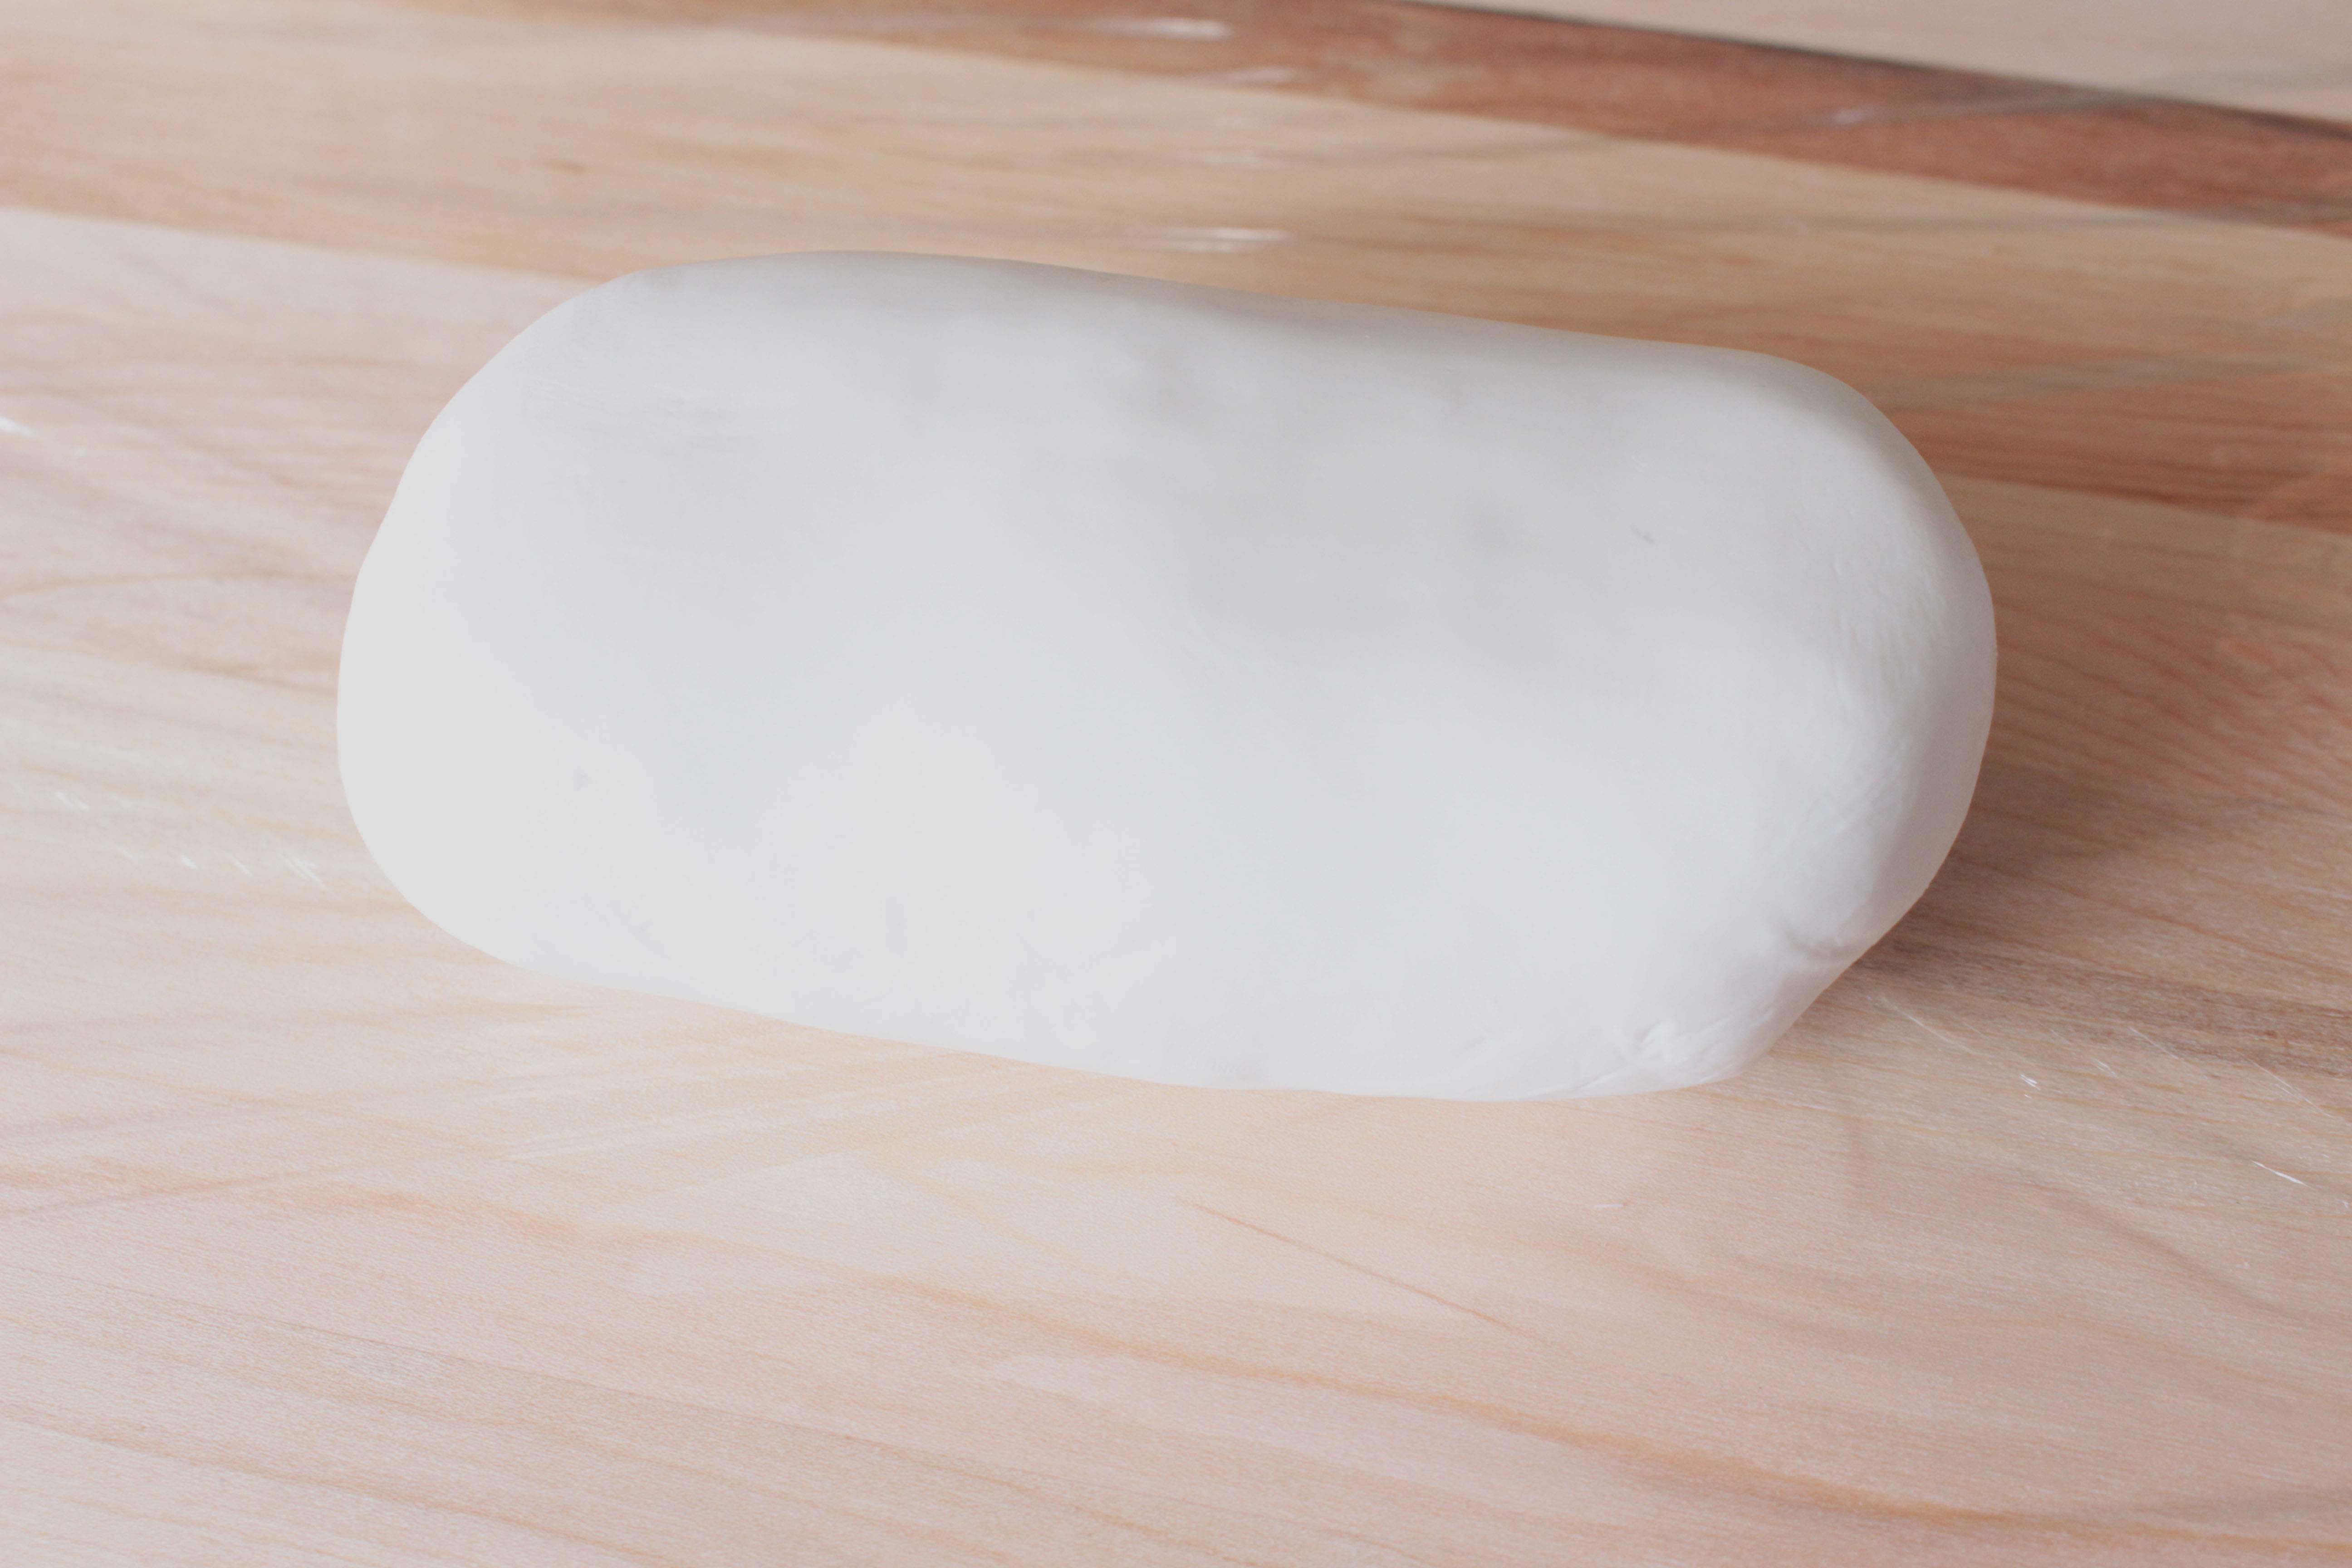
Candy clay sets a bit quicker than modeling chocolate. This took about an hour in my relatively cool kitchen to come to a pliable, but solid state. And I’m impatient, so I don’t rest it over night before kneading and using if I need it quick. At this stage you’ll knead it and feel through a bit for lumps, smoosh them out by pinching them between your fingers. Knead until it is a consistent, soft and smooth ball.
Note: Modeling chocolate will take a bit longer to set… more like hours. But just let it rest at room temp. Trying to force it in refrigeration causes more difficulty than it’s worth with inconsistent chilling from edges inward and create umps that may not have had otherwise.
Use it now, or wrap it airtight in plastic and store it in a large zipper bag or airtight container. You can freeze this if you want to keep it longer than a few weeks.
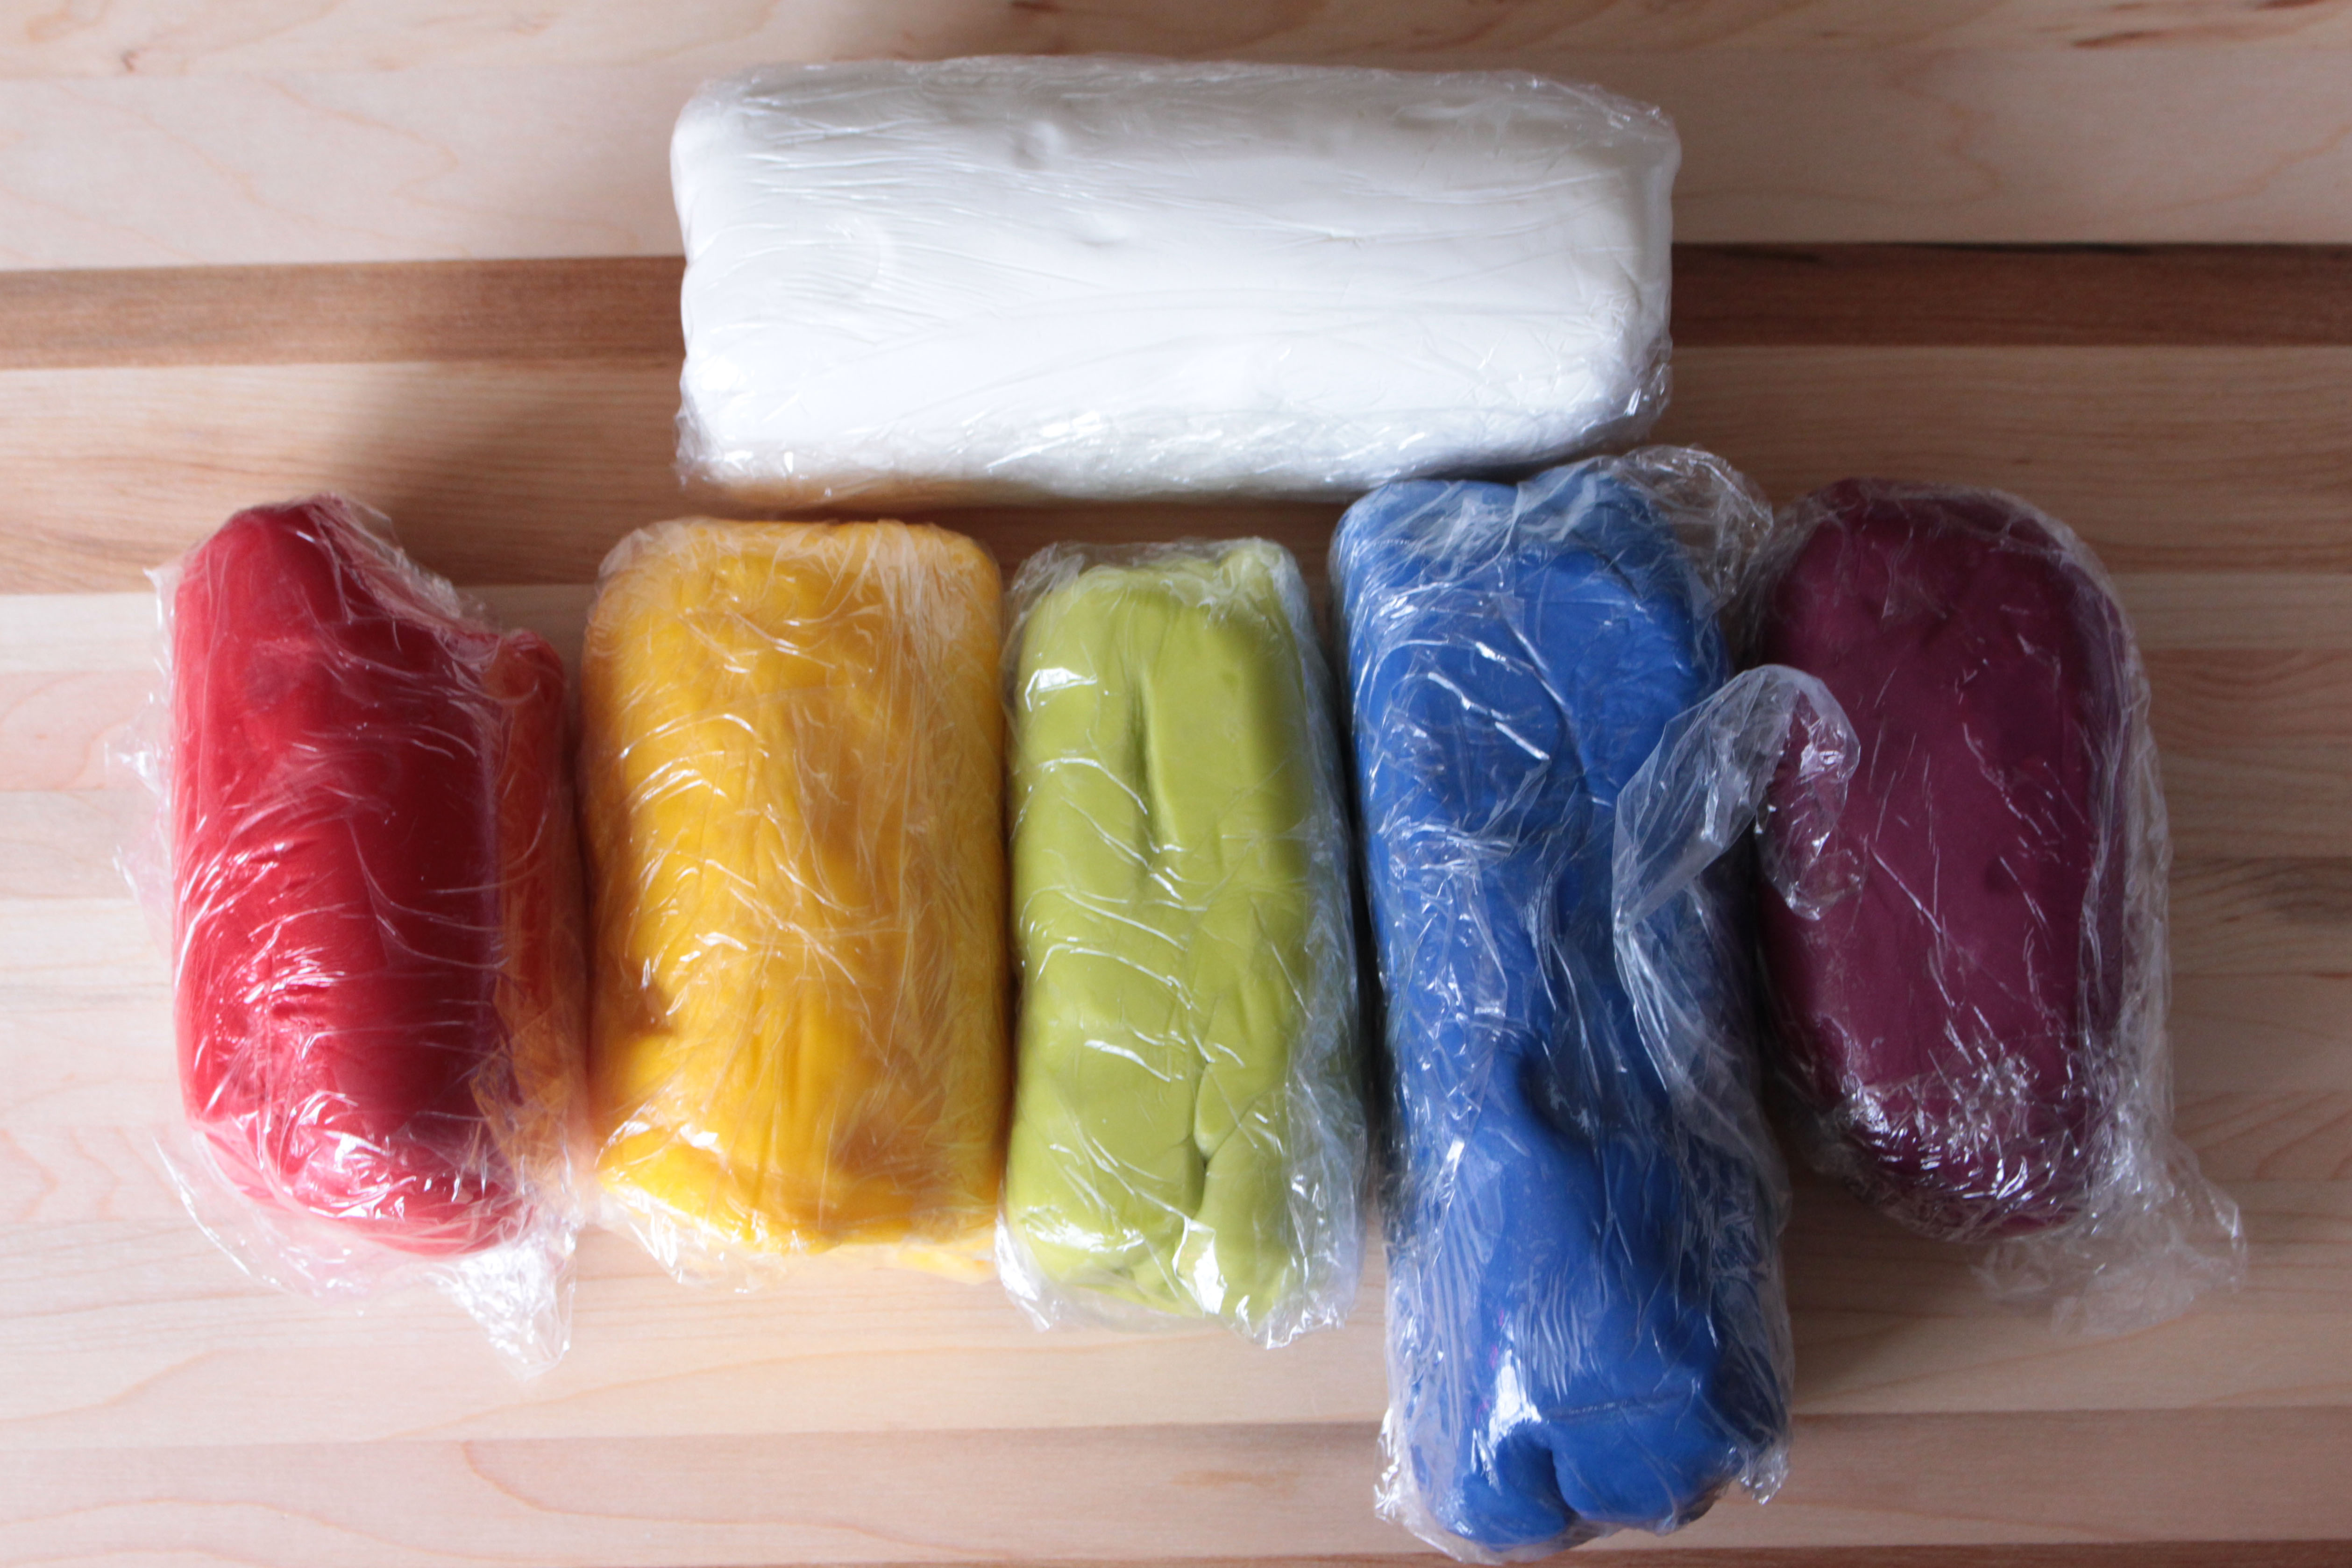
Truly, modeling chocolate and candy clay are super easy to make once you’ve done it once or twice. I have a rainbow of colors on hand all the time to use for projects!
I do prefer using candy melts as I think they behave better with heat and warm hands. Also, having the ability to start with colors so close to what I may need for a project is invaluable to me, a time saver. If you don’t want such bold color, use part colored melts, and part white ones. You can add color later when kneading to adjust as necessary.
(This blog was originally written for Craftsy published June 7th, 2015; all content is owned by Kara Andretta)


Very off topic question, hope you don’t mind but my little ones teething so I keep missing your live scopes. Can anyone join Cake Newbs? If not can you direct me to where I can sign up/pay fees please? Appreciate all your help, loving Bedtime Stories (which would have probably been a more appropriate place to post lol) you are such an awesome teacher!
Any and everyone who is a cake enthusiast is more than welcome 🙂
I have tryed and tryed…..and tryed. With candy melts and with white chocolate but it is not smooth or easy to use. It stays crumbly and when i try to knead it everything becomes oily. Maybe it’s the heat and humidity here in Spain. And when i finely finished my chibi cake, the face fel of after3 days on display. I wanted to cry.
If it’s crumbly, you may be overheating it. Be sure to give it plenty of time to melt on it’s own via my method, being sure to not overheat it. Also, make sure you stop working it when it looks like ricotta cheese (or soft serve ice cream). If you go past that you will get fat/oil separation.
I do have to say, I just recently read a method by Kaysie Lackey where she mixes it during the melted stage until it separates (intentionally) and keeps mixing till it comes back together. She swears by it, so perhaps try that method when you are making it!
Really good blog entry. I hate making modelling choc/Clay as I manage to separate it every time. I will have to give it another try as purchasing is getting pricy.
Can I adjust the consistency to something a bit softer or is this ill advised?
If you want it softer, increase you quantity of corn syrup in the recipe. But only do it in very small increments, like 0.2oz at a time till you find the final consistency you prefer. You can always tweak 🙂
Hi Kara, Is there a substitute for light corn syrup for cake enthusiast in AussieLand (Australia)? Thank you for delivering a great, informative, and well constructed blog, videos. I really like your style of teaching and sharing your knowledge 🙂
I think what our Aussie and IK cake friends use is called golden syrup. But if you can order glucose online, that is just the same. 🙂
Sorry Kara my last comments were attached to the comment below. I am an Australian and use KARO brand corn syrup which is available from most Health Food stores and some supermarkets. It is the same as the American corn syrup.
Yep! Karo is what I use 🙂
I made candy clay last week. I used the Wilton white melts and Shawna McGreevys blog recipie. I think hers were a different brand, not Wilton as they didn’t look as thick when melted. Mine went very dry and grainy. I was able to use it but the finish wasn’t good and it showed lines easily. Would this be too much or not enough corn syrup?
The Wilton bright whites can be that way. Much of that I believe has to do with the titanium dioxide that is in the compound mixture. The compound that Shawna uses is from Pastry Portal, but I don’t think they carry it any longer. You can always try adjusting your corn syrup quantities by about 0.2 ounces at a time. Increase it per batch till you get the desired consistency.
Hi I an Australian Louisa Johnstone and I use a brand called KARO light corn syrup which is readily available at most health food stores and some Supermarkets.
Great info!! Thank you! I haven’t tried making this before but will in the very near future. Love your periscopes 🙂
How does candy clay or modeling chocolate fare in humid weather? Will it melt or bleed color on white cake bases?
Humidity shouldn’t affect it, but warmth will. If you have hot hands, and live in a humid climate, you may get stickiness on the outer layer of your modeling chocolate, but this is where candy clay would be more durable. Many cakers I know use gloves when they work with it (I don’t) and it helps with those issues between hands and the material. But your color should never bleed due to humidity. Wetness, is another story, but if your humidity is enough to cause actual wetness on your cake surface, there are bigger issues to worry about. LOL
What are the different functions of candy clay and modelling chocolate? Or are there any at all? Is the clay softer?
Thank you! Great blog!
They are both used much the same, but candy clay comes precolored (from the colored melts) making coloring less of an issue. Also, the candy clay is more heat resistant for those of us with hot hands.
I love your website. You are an AMAZING teacher! I love most that you fully explain the science behind why things happen. I am giving my mother a birthday party and need to make the cake in advance. Can you freeze a cake that is paneled in modeling chocolate? Should I use a modeling chocolate/fondant mix? Or just fondant? Thanks for your help!
You can use any of the above mentioned panels, in fact. Just be sure to wrap it well and multiple times to prevent condensation. Then bring it out a day ahead and allow it to come to room temp still wrapped so any condensation forms on the wrap, not on your cake 🙂